What is the First Step of the Drilling Process?
Key Takeaways
- The first step of the drilling process is to plan the well.
- Planning the well involves extensive research, including analyzing geological data and obtaining necessary permits.
- The importance of planning the well includes minimizing risks, ensuring regulatory compliance, and optimizing drilling efficiency.
When it comes to drilling for oil and natural gas, the process involves several steps that are carefully planned and executed. But what is the very first step in this complex process? Let’s explore the information available to find out.
According to the sources provided, the first step of the drilling process is to plan the well. This initial stage involves geologists and drilling engineers developing detailed drilling proposals and obtaining the necessary permits. It sets the foundation for the entire drilling operation, ensuring that it is carried out safely and efficiently.
Planning the Well
The process of planning a well involves extensive research and preparation. Geologists and drilling engineers carefully analyze geological data to identify potential drilling locations that have the highest chances of containing oil or natural gas reserves. They use seismic surveys, satellite imagery, and other advanced technologies to gather information about the subsurface formations.
Once suitable drilling locations are identified, detailed drilling proposals are developed. These proposals outline the drilling techniques, equipment, and methodologies to be used. They also consider environmental factors, such as protecting fresh water aquifers and mitigating potential hazards.
Acquiring the necessary permits is another crucial aspect of planning the well. This involves obtaining approvals from regulatory bodies and ensuring compliance with local, state, and federal regulations. Permits are required to ensure that drilling operations do not harm the environment, wildlife, or public health.
The Importance of Planning
The planning stage is of utmost importance as it lays the groundwork for the entire drilling process. It helps minimize risks, ensure regulatory compliance, and optimize drilling efficiency. By conducting thorough research and analysis, geologists and drilling engineers can make informed decisions that increase the chances of successful drilling and production.
During the planning phase, potential hazards are identified and addressed. This includes assessing the risk of encountering shallow gas formations, which can lead to kicks or blowouts if not properly managed. By performing a shallow gas survey, geologists can identify these hazards and make any necessary adjustments to the well locations or drilling techniques.
Furthermore, planning the well involves selecting the appropriate casing points and depths. Casing is used to reinforce the wellbore and prevent the collapse of the hole. It also isolates different formations, protecting fresh water aquifers and ensuring the integrity of the well. By carefully determining casing points, drilling engineers can prevent potential instability or contamination issues.
The Overall Drilling Process
Now that we have established that planning the well is the first step of the drilling process, let’s take a closer look at the overall sequence of events involved in drilling for oil and natural gas:
- Plan the well: Develop detailed drilling proposals and obtain necessary permits.
- Perform shallow gas survey: Identify potential shallow gas hazards to avoid kicks or blowouts.
- Prepare the wellsite: Clear land, build access roads, construct infrastructure, and dig reserve pits.
- Set the conductor casing: Drill a large diameter hole and install conductor casing to isolate the wellbore from topsoil and prevent debris from entering.
- Move-In and Rig Up (MIRU): Transport and assemble the drilling rig on the wellsite.
- Spud the well: Start the rotary drilling operations.
- Drill down to the surface casing depth: Drill the section of the well that goes down to the pre-determined surface casing depth to protect fresh water aquifers and the well from shallow gas hazards.
- Run and cement the surface casing: Run the surface casing into the wellbore and cement it into place to protect fresh water aquifers and isolate the water table.
- Continue this process to drill to the next casing point: Drill to pre-determined casing points, run and cement intermediate casing strings to isolate unstable hole sections and prevent kicks and blowouts.
- Continue this process to drill to total depth (TD): Drill until the well reaches the final depth.
- Log the well with open-hole logs: Measure properties of the subsurface formation using open-hole logging tools.
- Run and cement the production casing string or liner: If required, run and cement the production casing string or liner.
- Complete the well: Install the well completion, such as tubing, gravel packs, packers, sliding sleeves, and perform stimulation (acidizing or hydraulic fracturing).
- Rig down and move out: Dismantle and remove the drilling rig from the wellsite.
Conclusion
The first step of the drilling process is to plan the well. This involves developing detailed drilling proposals, obtaining permits, and conducting a shallow gas survey. Planning the well is essential to minimize risks, ensure regulatory compliance, and optimize drilling efficiency.
Once the well is planned, the drilling process continues with various stages, including drilling the well, running and cementing casing, and completing the well. Each step is carefully executed to ensure the safe and efficient extraction of oil and natural gas resources.
Related Websites:
FAQs:
Q: Why are cordless drills important in various tasks?
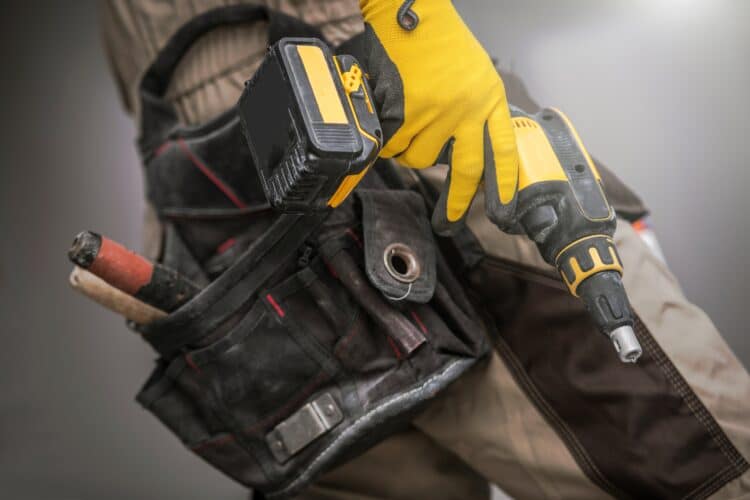
Cordless drills provide convenience and flexibility in various tasks as they eliminate the need for a power cord, allowing for easy maneuverability and access to tight spaces. They are portable and can be used anywhere, making them essential tools for DIY projects, construction work, and repairs.
Q: How do I choose the right drill bit for different materials?
Choosing the right drill bit is crucial for efficient drilling. Consider the material you are drilling into and select a drill bit specifically designed for that material. For example, masonry drill bits are used for drilling into brick or concrete, while wood drill bits are ideal for wooden surfaces. Matching the drill bit to the material ensures clean and precise holes.
Q: How do I properly attach a drill bit to a cordless drill?
To attach a drill bit to a cordless drill, follow these steps: 1) Ensure the drill is turned off and unplugged. 2) Open the chuck by rotating it counterclockwise. 3) Insert the shank of the drill bit into the chuck. 4) Tighten the chuck by rotating it clockwise until the drill bit is securely in place. 5) Double-check that the drill bit is centered and tight before use. Remember to always refer to the specific instructions provided with your cordless drill model.
Q: Why is it important to adjust speed and torque settings when drilling?
Adjusting speed and torque settings is important to match the drilling task and material. Different materials require different drilling speeds and torque levels to prevent damage and ensure optimal results. Higher speeds are suitable for softer materials, while lower speeds are better for harder materials. Adjusting the torque setting allows the drill to exert the right amount of force, avoiding excessive strain or damage to the material being drilled.
Q: What is a pilot hole and why is it important?
A pilot hole is the initial small hole created before drilling the final hole. It serves several purposes, including guiding the drill bit, reducing the chances of the material splitting, and ensuring accurate drilling. Creating a pilot hole helps prevent the drill bit from slipping or wandering off target, resulting in a cleaner and more controlled drilling process.

