How to Change a Drill Bit on a Cordless Drill
Key Takeaways
- Before changing a drill bit, prioritize safety by switching off and unplugging the drill or removing the battery.
- To loosen the chuck and remove the old bit, follow different methods depending on the type of chuck your drill has.
- After inserting the new bit, tighten the chuck securely and double-check that the bit is centered and tightened properly.
Changing a drill bit on a cordless drill is a simple process that anyone can learn. Whether you’re a DIY enthusiast or a professional tradesperson, knowing how to change a drill bit is a basic skill that will come in handy during various projects. In this article, we will discuss the step-by-step process of changing a drill bit on a cordless drill, along with some tips and precautions to ensure a smooth and safe transition.
Step 1: Ensure Safety First
Before proceeding with changing the drill bit, it is crucial to prioritize safety. Start by switching off and unplugging the drill or removing the battery, depending on the type of drill you have. This step will prevent any accidental spinning or activation of the drill during the bit changing process, reducing the risk of injuries.
Step 2: Loosen the Chuck
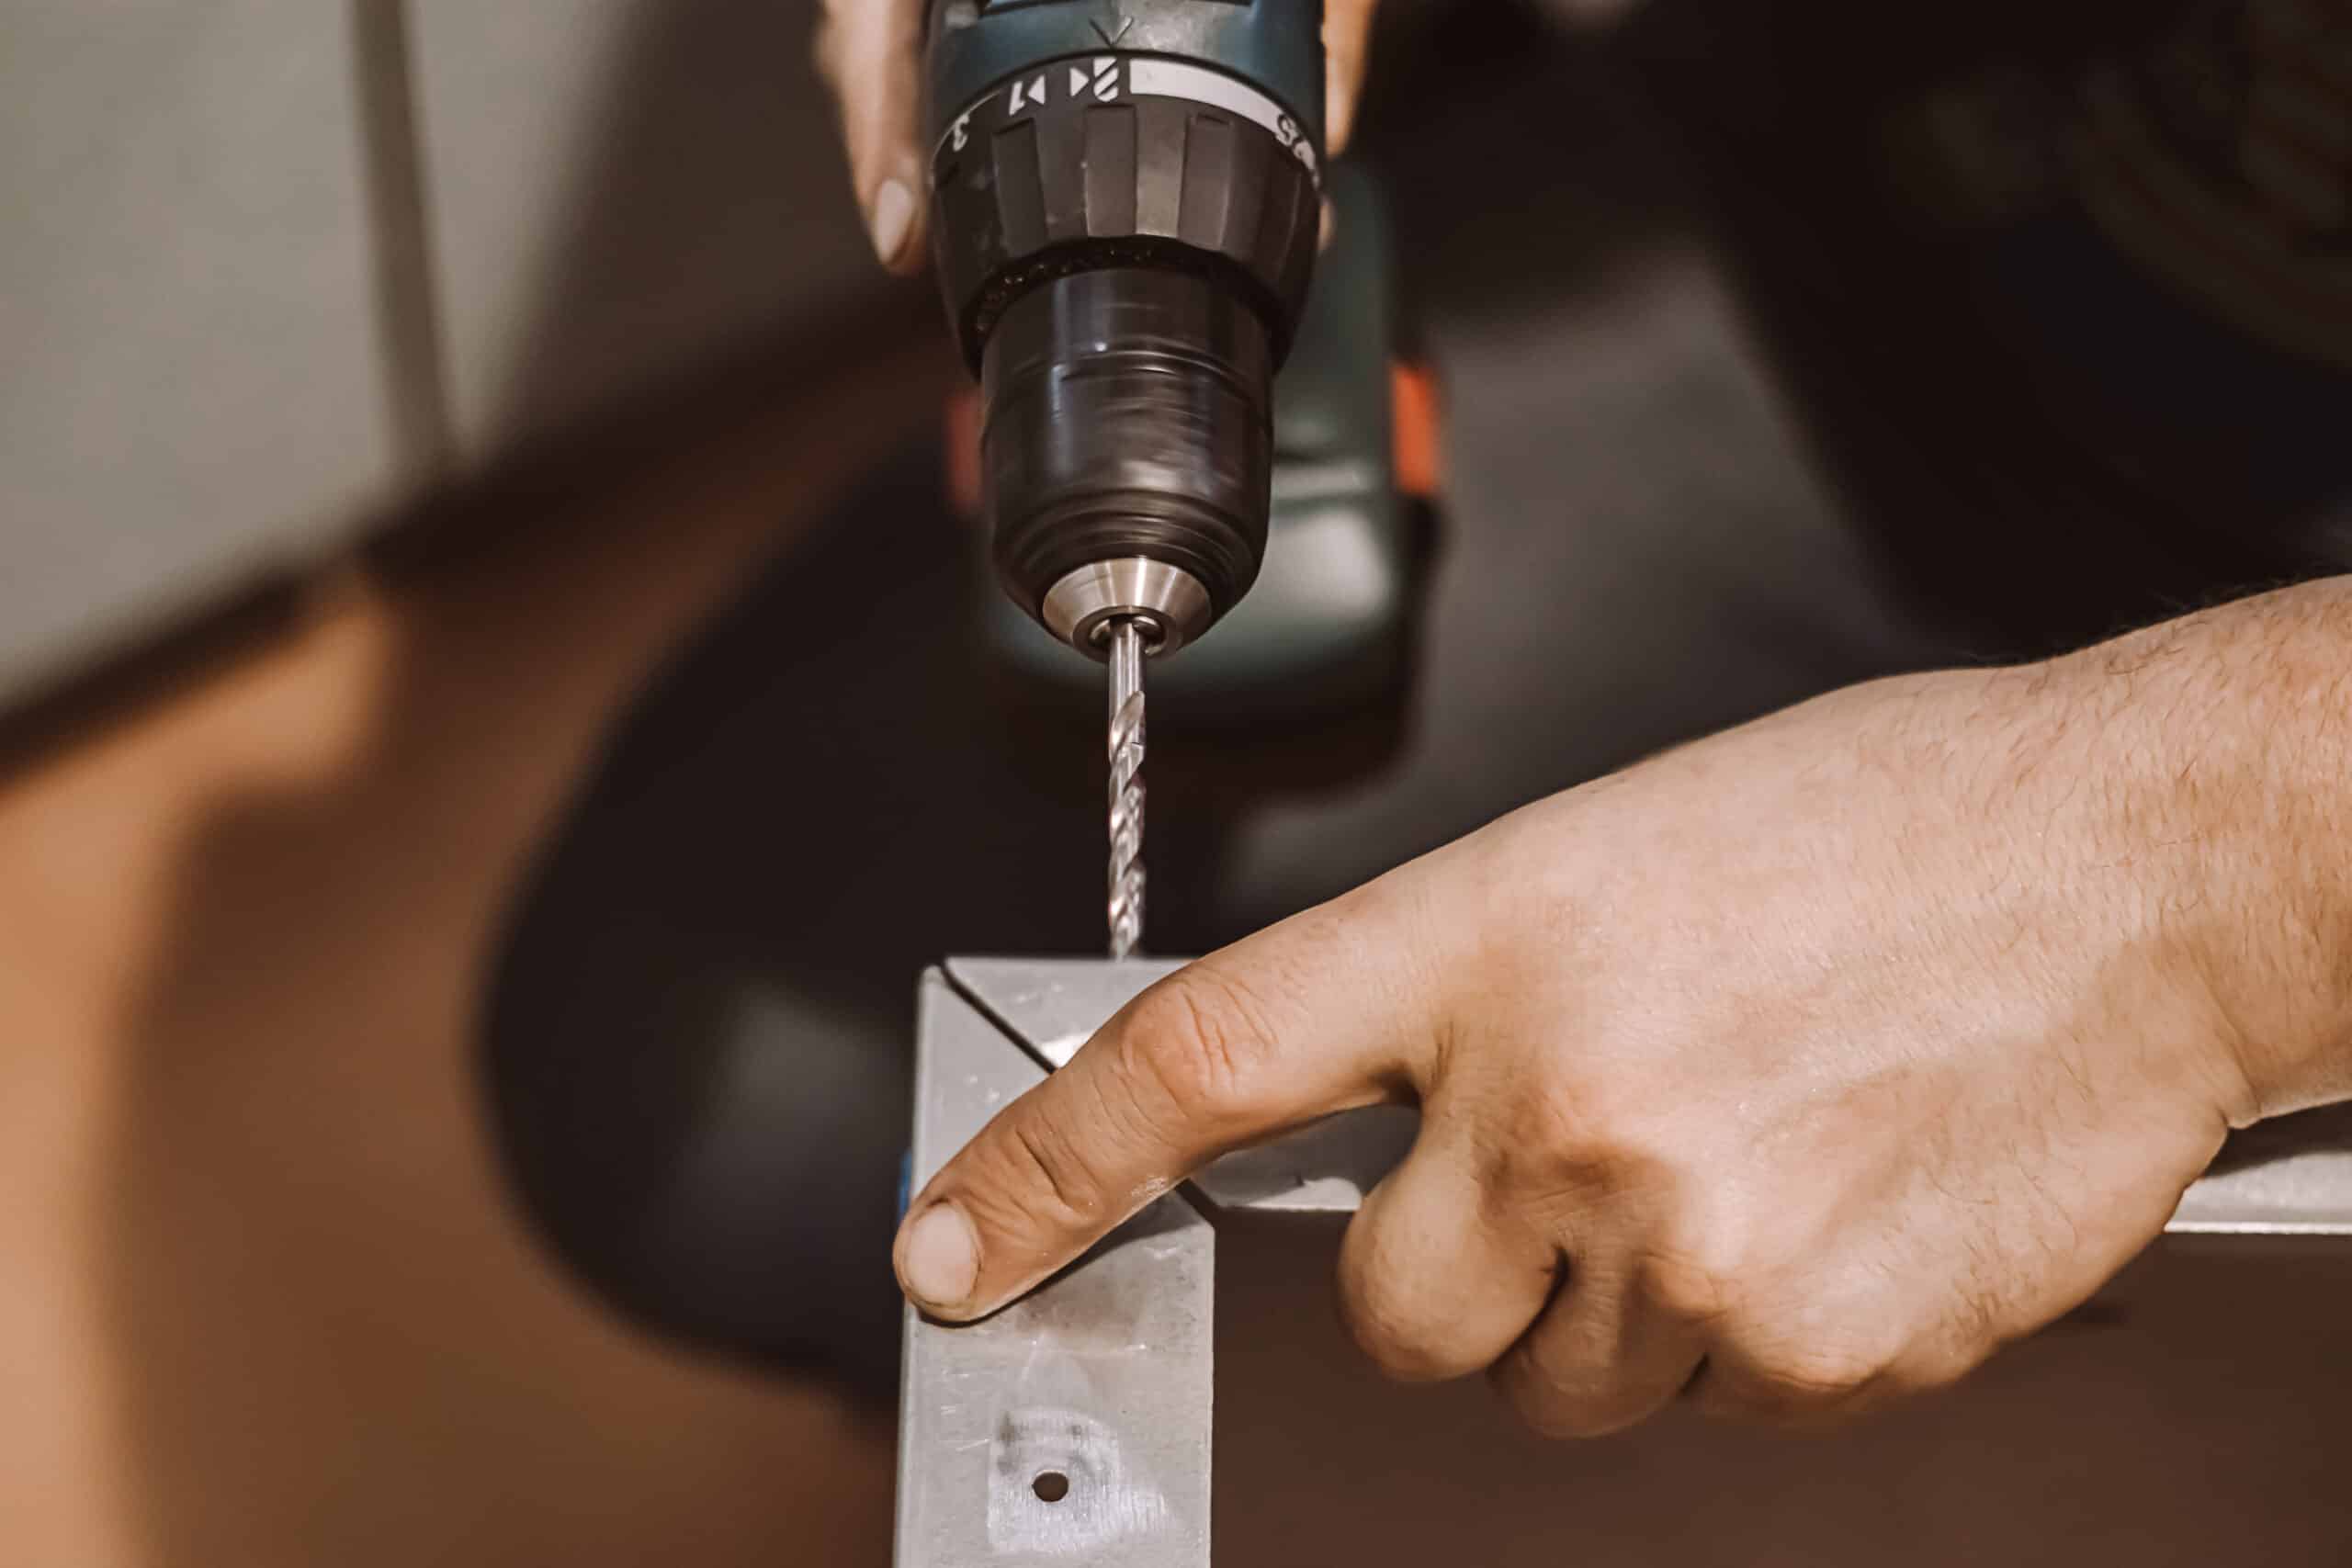
The chuck is the part of the drill that holds the drill bit in place. To change the drill bit, you need to loosen the chuck. There are different methods depending on the type of chuck your drill has:
- Keyless Chuck: If your drill has a keyless chuck, switch the drill into the reverse or counter-clockwise position. Gently squeeze the trigger to loosen the old bit. This will allow you to rotate the chuck counterclockwise to open the jaws.
- Keyed Chuck: For a drill with a keyed chuck, unplug the drill and fit the wrench into the chuck. Twist the key counterclockwise to open the chuck and release the old bit.
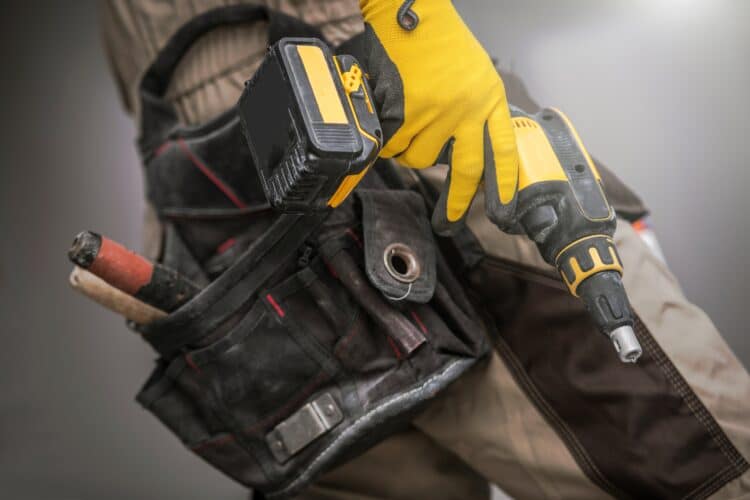
- Impact Driver: If you are using an impact driver, grip the base of the chuck and pull it forward to release the current bit.
Step 3: Remove the Old Bit
Once the chuck is loose, you can remove the old drill bit. For a keyless or impact driver chuck, you can simply slide out the old bit by hand. If you have a keyed chuck, you can use the wrench to help loosen and remove the bit.
Step 4: Insert the New Bit
Now it’s time to insert the new drill bit. Hold the new bit with your thumb and index finger, making sure the usable part of the bit sticks out past the edge of the drill. Align the new bit with the chuck and insert it until it is secure.
Step 5: Tighten the Chuck
Once the new bit is in place, you need to tighten the chuck to securely hold the bit. Again, the method will depend on the type of chuck your drill has:
- Keyless Chuck: For a keyless chuck, tighten it by rotating it in a clockwise direction until it feels snug. Make sure not to overtighten, as it can damage the chuck or the bit.
- Keyed Chuck: If you have a keyed chuck, insert the new bit and twist the chuck closed using the wrench. Ensure it is tightened securely.
- Impact Driver: For an impact driver, pull the chuck forward to seat the new bit securely in place.
Step 6: Double-Check and Test
After tightening the chuck, it’s essential to double-check that the bit is centered and tightened properly. Give the bit a gentle tug to ensure it is securely held by the chuck. Once you are satisfied with the bit’s placement, you can plug in the drill or reinsert the battery (if applicable) and test the drill briefly to ensure proper performance.
Remember, safety should always be a priority when using power tools. Always disconnect the power source before changing the drill bit to prevent any accidents or injuries.
Related Websites:
FAQs:
Q: Why is it important to choose the right drill bit for the task?
Choosing the right drill bit ensures optimal performance and efficiency. Using the wrong drill bit can result in poor quality work, damaged materials, or even personal injury.
Q: What are some general safety precautions when working with cordless drills?
To ensure safety while using cordless drills, it is important to wear appropriate protective gear, turn off the drill before changing the bit, and keep fingers away from moving parts. Following these precautions reduces the risk of accidents and injury.
Q: What are some tips to make changing a drill bit easier?
To make changing a drill bit easier, consider using a drill bit key or a pair of pliers to securely tighten the chuck. These tools provide better grip and control, making the process more efficient.
Q: What are common mistakes to avoid when changing a drill bit?
Some common mistakes to avoid when changing a drill bit include not fully tightening the chuck, using the wrong drill bit size, or not properly inserting the new drill bit. Avoiding these mistakes ensures proper functionality and safety during drilling tasks.
