How to Change a Power Drill Bit
Key Takeaways
- The first step in changing a power drill bit is to determine the type of chuck your drill has (keyless chuck, keyed chuck, or collet chuck).
- For a keyless chuck, unplug the drill, set the directional switch to reverse, gently squeeze the trigger to loosen the old bit, remove the old bit, insert the new bit, and manually tighten the chuck.
- For a keyed chuck, unplug the drill, use a wrench to open the chuck jaws, remove the old bit, align and insert the new bit, and use the wrench to close the jaws tightly.
Changing a power drill bit is a simple task that every DIY enthusiast or professional should know. Whether you’re working on a home improvement project or tackling a professional job, being able to switch out drill bits quickly and efficiently is essential. In this article, we will explore the various methods of changing a power drill bit, providing step-by-step instructions and safety precautions to follow. So, let’s dive in and learn how to change a power drill bit like a pro!
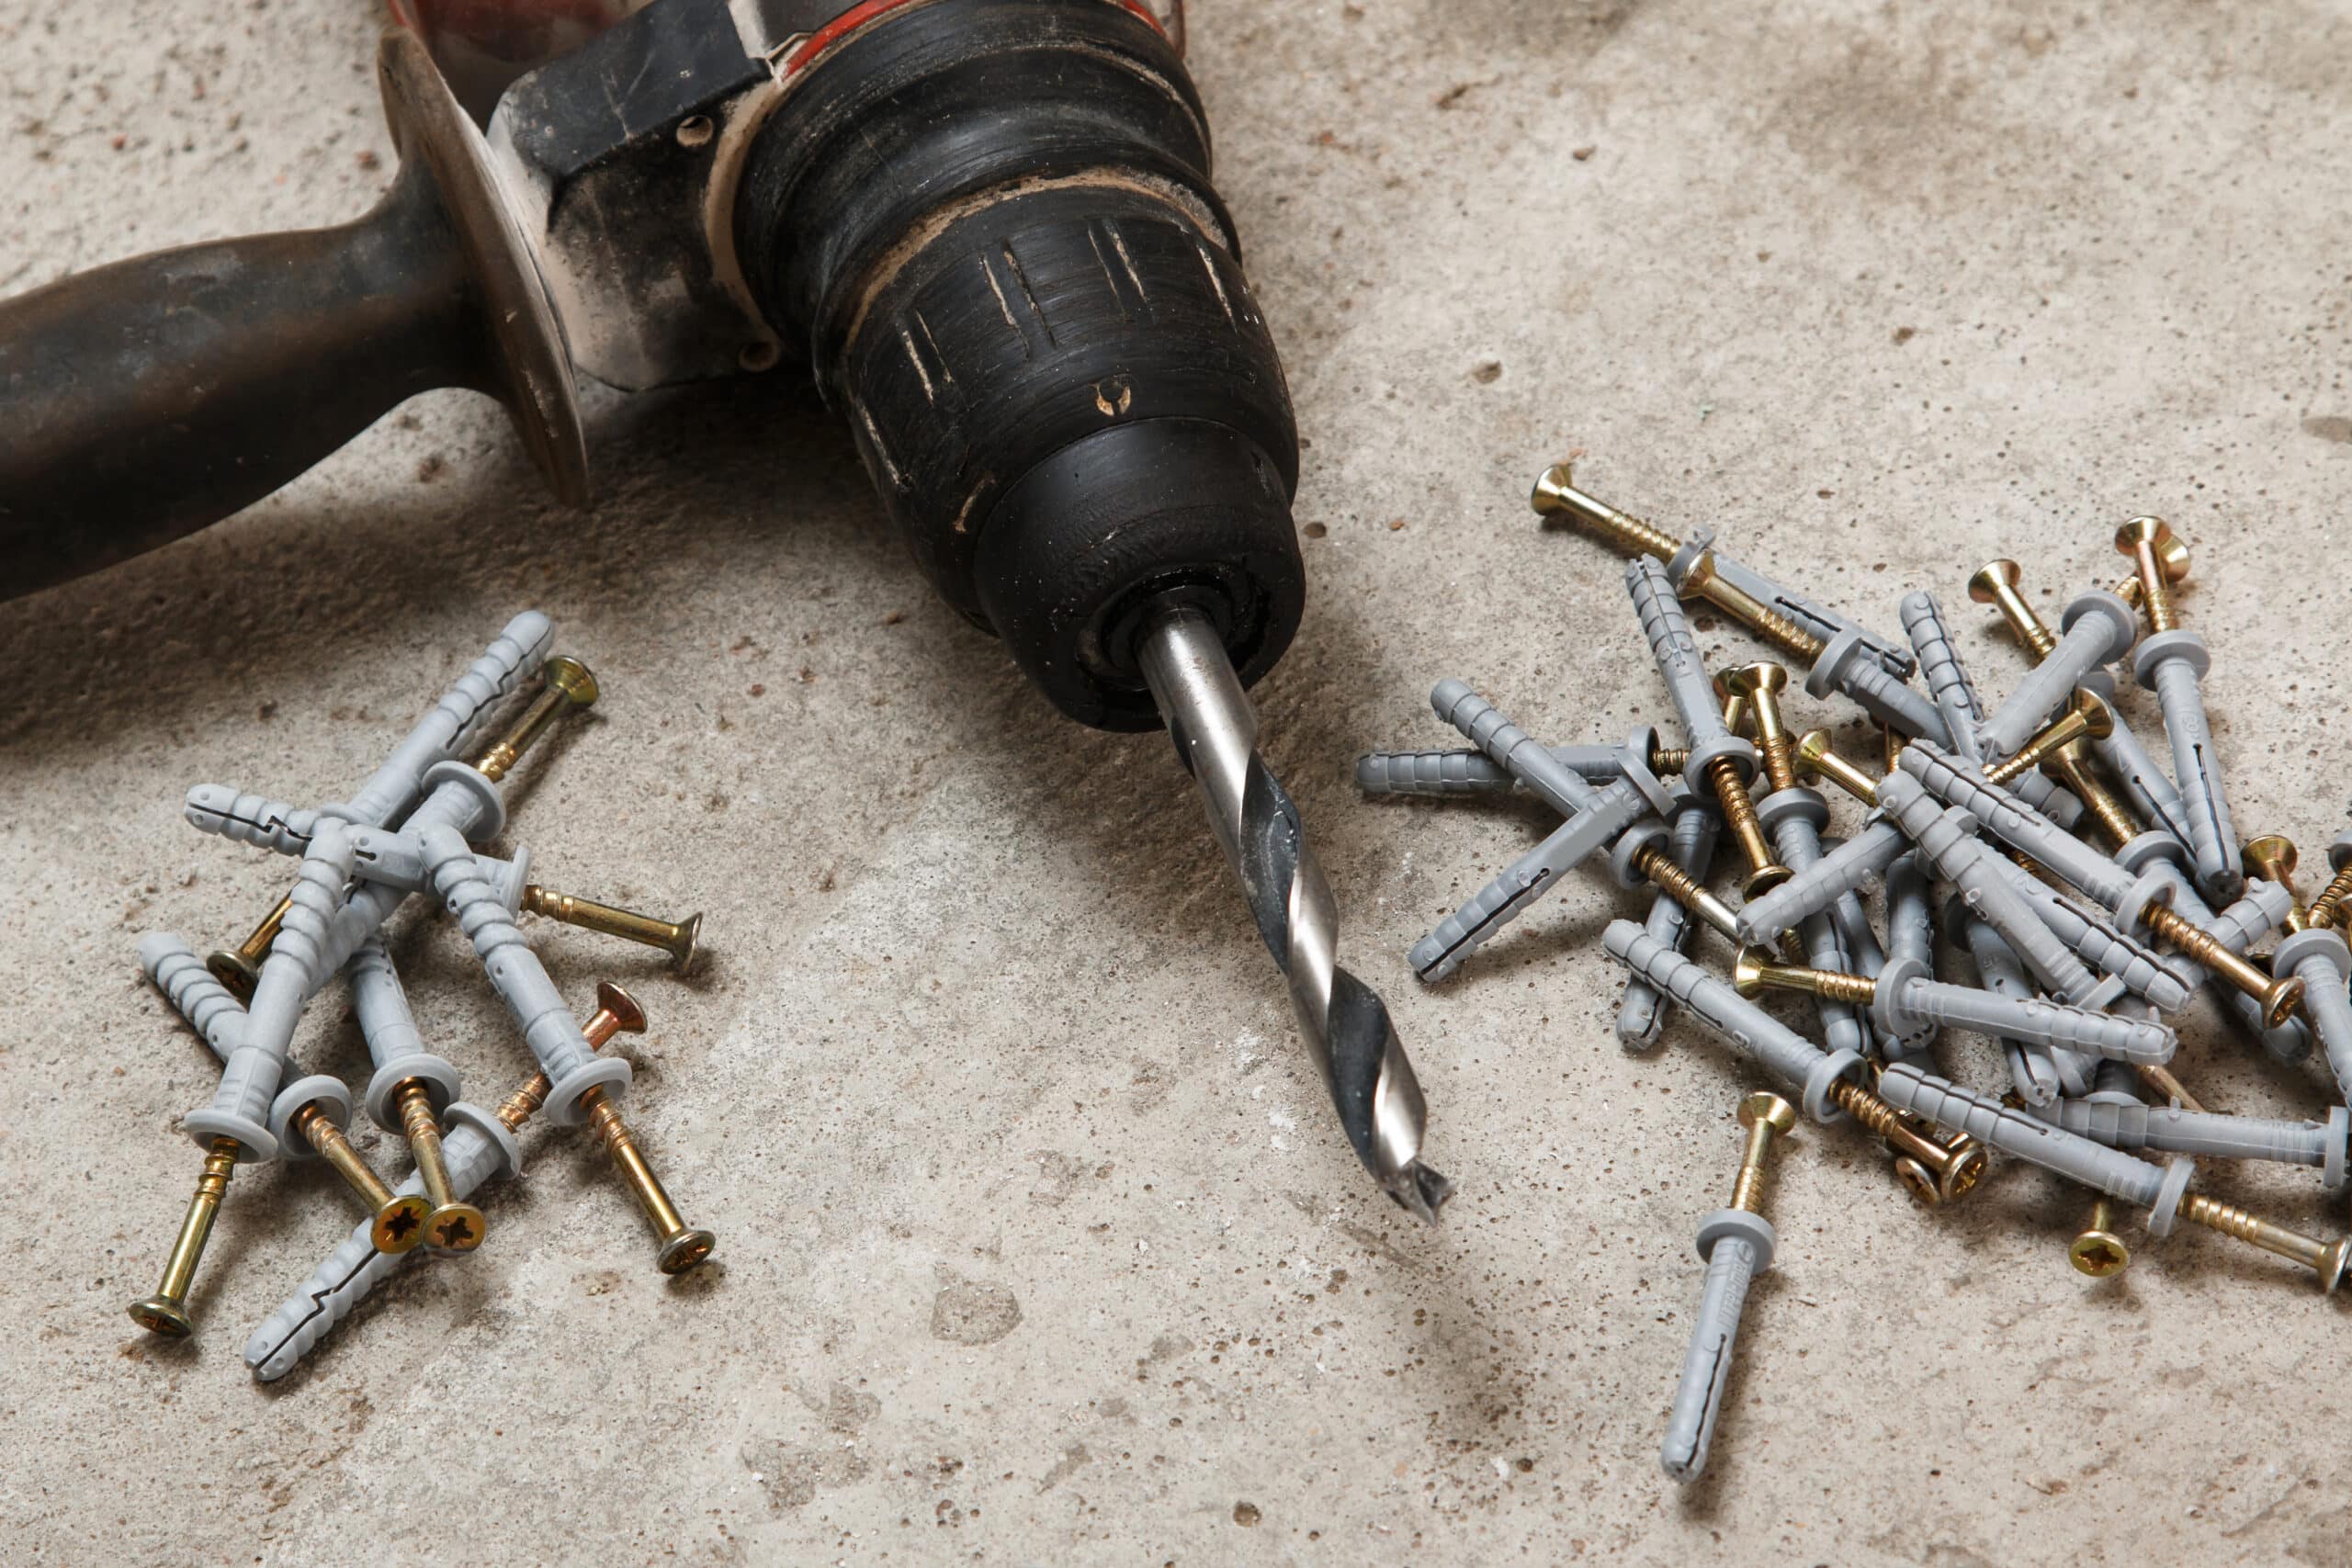
Determining the Type of Chuck on Your Drill
The first step in changing a power drill bit is to determine the type of chuck your drill has. There are three main types of chucks: keyless chuck, keyed chuck, and collet chuck. Each type requires a slightly different approach to changing the drill bit. Let’s take a closer look at each type:
1. Keyless Chuck
If your drill has a keyless chuck, the process of changing the drill bit is relatively straightforward. Here’s what you need to do:
- Unplug the drill for safety purposes to avoid accidental operation.
- Set the drill’s directional switch to the reverse or counterclockwise position.
- Gently squeeze the trigger to loosen the grip on the old drill bit. Be cautious not to apply excessive force.
- Remove the old drill bit from the chuck.
- Insert the new drill bit into the chuck, ensuring it is aligned properly within the jaws.
- Manually tighten the chuck by squeezing the trigger until the jaws close securely around the new bit.
- Check for any wobbling or give in the new bit before using the drill.
Following these steps will ensure that your new drill bit is securely in place and ready for use.
2. Keyed Chuck
If your drill has a keyed chuck, the process of changing the drill bit involves using a wrench to open and close the chuck jaws. Here’s how to do it:
- Unplug the drill to prevent any accidental starting.
- Insert the wrench into the chuck and twist it counterclockwise to open the jaws.
- Remove the old drill bit from the chuck.
- Align the new drill bit with the chuck and insert it until it is secure.
- Use the wrench to twist and close the jaws of the chuck tightly around the new bit.
By following these steps, you can ensure that the new drill bit is firmly held in place, ready for your drilling needs.
3. Collet Chuck
Collet chucks are commonly used in rotary tools and some high-speed drills. Changing a drill bit on a collet chuck involves a slightly different approach. Here’s what you need to do:
- Loosen the collet nut counterclockwise using a wrench.
- Remove the old drill bit from the collet.
- Insert the new drill bit into the collet, aligning it with the slots in the collet.
- Push the new bit in until it is secure.
- Tighten the collet nut clockwise to secure the new bit in place.
Following these steps will ensure that your new drill bit is securely held in the collet chuck, ready to take on your drilling tasks.
Safety Precautions
When changing a power drill bit, it’s important to prioritize safety. Here are some essential safety precautions to keep in mind:
- Always unplug the drill before attempting to change the drill bit to avoid accidental starting.
- Wear safety glasses to protect your eyes from any flying debris.
- Apply light pressure when squeezing the trigger to loosen the old bit, and avoid using excessive force.
- Keep your hands away from the drill bit at all times to prevent injury.
- Ensure that the new drill bit is sharp, balanced, and free from corrosion before using it.
By following these safety precautions, you can minimize the risk of accidents and safely change your power drill bit.
Conclusion
Changing a power drill bit is a fundamental skill that every DIYer and professional should master. By following the specific instructions for your drill’s chuck type, you can easily and safely switch out drill bits to suit your drilling needs. Remember to prioritize safety, unplug the drill before changing the bit, and always wear appropriate protective gear. With these tips in mind, you’ll be ready to tackle any drilling project with confidence!
Related Websites:
FAQs:
Q: Why is it important to know how to change a power drill bit?
Knowing how to change a power drill bit allows you to efficiently switch between different tasks and materials. It saves time and ensures proper functionality of your power drill.
Q: How do I identify the type and size of drill bit needed for a task?
To identify the type and size of drill bit needed, refer to the project’s instructions or consult a drill bit size chart. Matching the right drill bit ensures precision and effectiveness in your drilling tasks.
Q: What safety precautions should I take when changing a power drill bit?
When changing a power drill bit, ensure the drill is turned off and unplugged. Wear safety goggles and gloves for protection against debris and potential accidents.
Q: How do I properly insert a new drill bit?
To insert a new drill bit, align it with the chuck jaws and insert it fully, ensuring it is centered and secure. Use the chuck key or spindle lock to tighten the chuck jaws for a secure grip.
Q: What should I do if I encounter issues when changing drill bits?
If you encounter issues like stripped chuck threads or stuck drill bits, refer to the drill’s manual for troubleshooting tips. If the problem persists, it is advisable to seek professional assistance.


