How to Screw into Wood with a Drill
Key Takeaways
- Choosing the Right Drill Bit Size:
- Eyeballing or using a numerical guide can help determine the appropriate drill bit size for screwing into wood.
- Drill bit size may vary based on the type of wood being used.
- Drilling Pilot Holes:
- Pilot holes prevent wood splitting, ensure a secure connection, and guide the screw.
- Steps for drilling pilot holes include marking the location, selecting the drill bit, setting the depth, drilling the hole, and countersinking.
- Tips for Successful Drilling:
- Stabilize the workpiece, use the right drill, keep drill bits sharp, start slowly, apply gentle pressure, clear wood chips, monitor progress, stop short of the other side, and finish and sand for a smooth look.
When it comes to working with wood, one of the most common tasks is screwing pieces together. Whether you’re building furniture, installing cabinets, or undertaking a DIY project, knowing how to properly screw into wood with a drill is essential. In this article, we will explore the best practices for drilling pilot holes, choosing the right drill bit size, and ensuring a secure and durable connection.
Choosing the Right Drill Bit Size
Before you start screwing into wood, it’s important to select the correct drill bit size. The drill bit should match the size of the screw shaft, excluding the threads. There are two main methods for determining the appropriate drill bit size:
- Eyeballing: One way is to visually compare the drill bit to the screw shaft. Hold the drill bit in front of the screw and ensure that the diameters match. This method requires a keen eye and some experience.
- Numerical Guide: Another way is to use a numerical guide that matches the drill bit size to the screw size. For example, a #8 wood screw would typically require a 1/8-inch drill bit.
It’s worth noting that the drill bit size may differ depending on the type of wood you are working with. In general, a slightly smaller drill bit is recommended for softwood to ensure a more secure hold. On the other hand, denser wood species may require a slightly larger hole. It’s always a good idea to experiment with scrap wood to find the optimal drill bit size for your specific project.
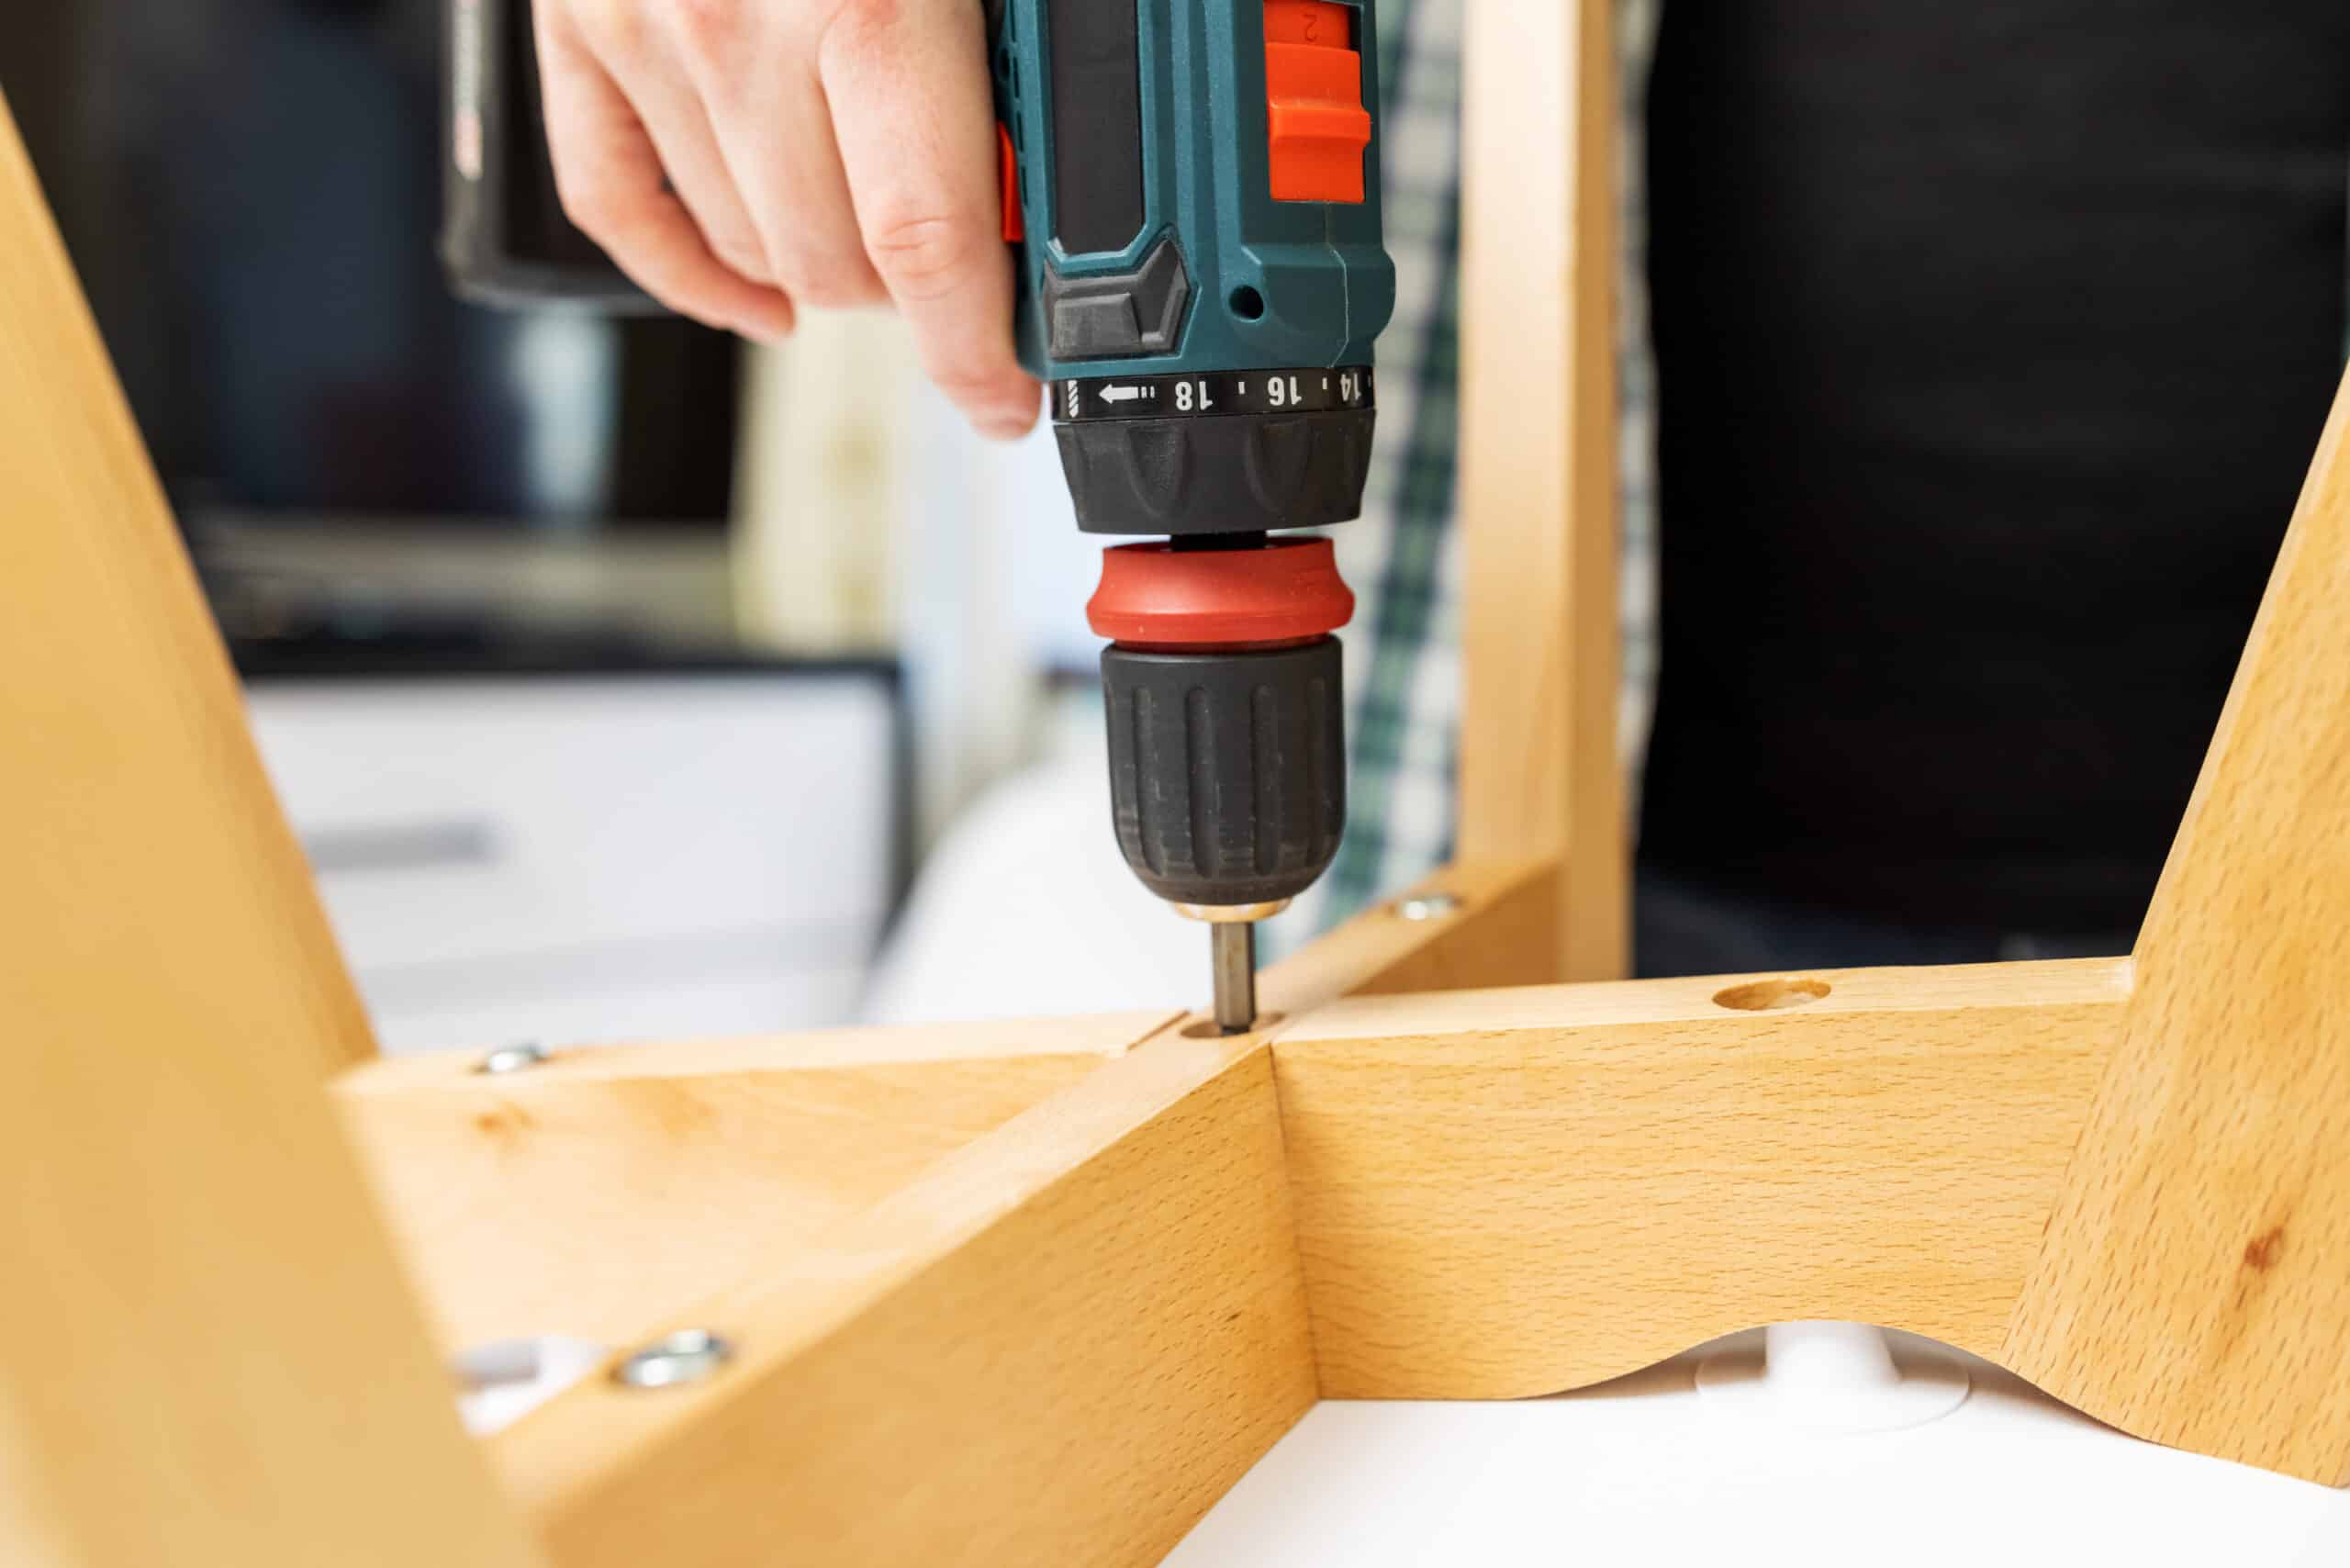
Drilling Pilot Holes
Once you have determined the correct drill bit size, it’s time to drill pilot holes. Pilot holes are small holes drilled into the wood before inserting the screw. They serve several important purposes:
- Preventing Wood Splitting: Pilot holes help prevent the wood from splitting when the screw is inserted. This is especially important when working with hardwood or fragile wood.
- Ensuring a Secure Connection: Pilot holes create a pathway for the screw to follow, resulting in a tighter and more secure connection between the two pieces of wood.
- Guiding the Screw: Pilot holes act as a guide for the screw, making it easier to drive the screw straight and avoid any wobbling or misalignment.
To drill pilot holes, follow these steps:
- Mark the Location: Use a pencil or a punch to mark the exact spot where the screw will be inserted. This will help you drill the pilot hole accurately.
- Select the Drill Bit: Choose a drill bit that matches the size of the screw shaft, as determined earlier.
- Set the Depth: Adjust the depth stop on your drill or use a piece of tape around the drill bit to ensure you don’t drill too deep. The pilot hole should be slightly shorter than the length of the screw.
- Drill the Hole: Place the drill bit on the marked spot and drill straight into the wood. Apply gentle pressure and let the drill do the work. Avoid forcing the drill, as it can cause the wood to splinter.
- Countersink the Hole: After drilling the pilot hole, it’s important to countersink it. Countersinking means creating a wider opening at the top of the hole to accommodate the screw head. This will ensure a flush and neat finish.
Tips for Successful Drilling
Now that you know how to choose the right drill bit size and drill pilot holes, let’s explore some additional tips to ensure successful drilling into wood:
- Stabilize the Workpiece: To prevent the wood from moving while drilling, secure it in a clamp or vise. This will provide stability and accuracy.
- Use the Right Drill: Select a drill that suits your project’s needs. A drill with multiple speed settings and an adjustable chuck will give you more control over the drilling process.
- Sharp Drill Bits: Keep your drill bits sharp by regularly sharpening them with a bench grinder. Dull bits can cause splintering and make drilling more challenging.
- Start Slowly: Begin drilling at a slow speed to ensure the drill bit stays on the center point and doesn’t wander off track.
- Apply Gentle Pressure: Avoid excessive force when drilling. Apply gentle pressure to prevent the drill bit from binding or causing damage to the wood.
- Clear Wood Chips: Regularly pull out the drill bit and blow off any wood chips or flakes that have accumulated in the hole. This will prevent clogging and ensure smooth drilling.
- Monitor Progress: Keep an eye on the drilling process and adjust as needed. If the drill bit starts to jam or encounters resistance, stop drilling and clear any debris from the hole.
- Stop Short of the Other Side: To achieve a cleaner cut, stop drilling just before reaching the other side of the wood. This will prevent any splintering or tear-out on the exit side.
- Finish and Sand: Once the pilot hole is drilled, gently insert the screw into the hole and tighten it until snug. If necessary, sand the area around the screw for a smooth and finished look.
Conclusion
When it comes to screwing into wood with a drill, choosing the right drill bit size and drilling pilot holes are essential steps for a successful outcome. By following the tips and techniques outlined in this article, you can ensure a secure and durable connection between pieces of wood. Remember to take into account the type of wood you are working with, as well as the specific requirements of your project. With practice and attention to detail, you’ll become proficient at screwing into wood and achieve professional-looking results.
Related Websites:
FAQs:
Q: What is a cordless drill and why is it important for screwing into wood?
A cordless drill is a portable power tool that allows you to drill holes and drive screws. It is important for screwing into wood because it provides the necessary power and control to make the process easier and more efficient.
Q: What types of drill bits should I use for screwing into wood?
When screwing into wood, you should use a drill bit specifically designed for wood. The most common types are twist bits, spade bits, and brad point bits. Each type has its own advantages depending on the specific project or screw size.
Q: How important is it to choose the correct drill bit size for the screw?
Choosing the correct drill bit size for the screw is crucial. Using a drill bit that is too small can result in the screw not fitting properly, while using a bit that is too large can cause the screw to become loose. It’s important to match the drill bit size to the screw size for a secure and stable connection.
Q: Why should I create a pilot hole before screwing into wood?
Creating a pilot hole before screwing into wood helps prevent the wood from splitting and ensures a smoother insertion of the screw. It also helps guide the screw into the correct position and makes driving the screw easier.
Q: How can I prevent wood splitting and stripping screws?
To prevent wood splitting, it’s important to use the correct drill bit size and avoid applying excessive force. To prevent stripping screws, make sure the drill is set to the correct torque setting and use screws that are appropriate for the wood thickness. Additionally, it’s important to maintain control and apply steady pressure while screwing.


