What do I need to use my drill as a screwdriver?
Key Takeaways
- The first step in using your drill as a screwdriver is to choose the right drill with adjustable torque settings, variable speed options, and a compatible chuck size.
- Once you have the right drill, adjust it for screwdriver mode by setting the direction to forward, adjusting the clutch setting, selecting an appropriate speed, and ensuring the chuck is tightly secured.
- Using the correct screwdriver bit is crucial for efficient screwdriving – choose the appropriate bit that matches the type of screw you will be using and make sure it is securely tightened in the chuck.
If you want to use your drill as a screwdriver, you’re in luck! With a few simple steps and the right tools, you can easily transform your drill into a versatile screwdriver. In this article, we will guide you through the process, providing all the necessary information and tips to ensure a smooth and successful screwdriving experience.
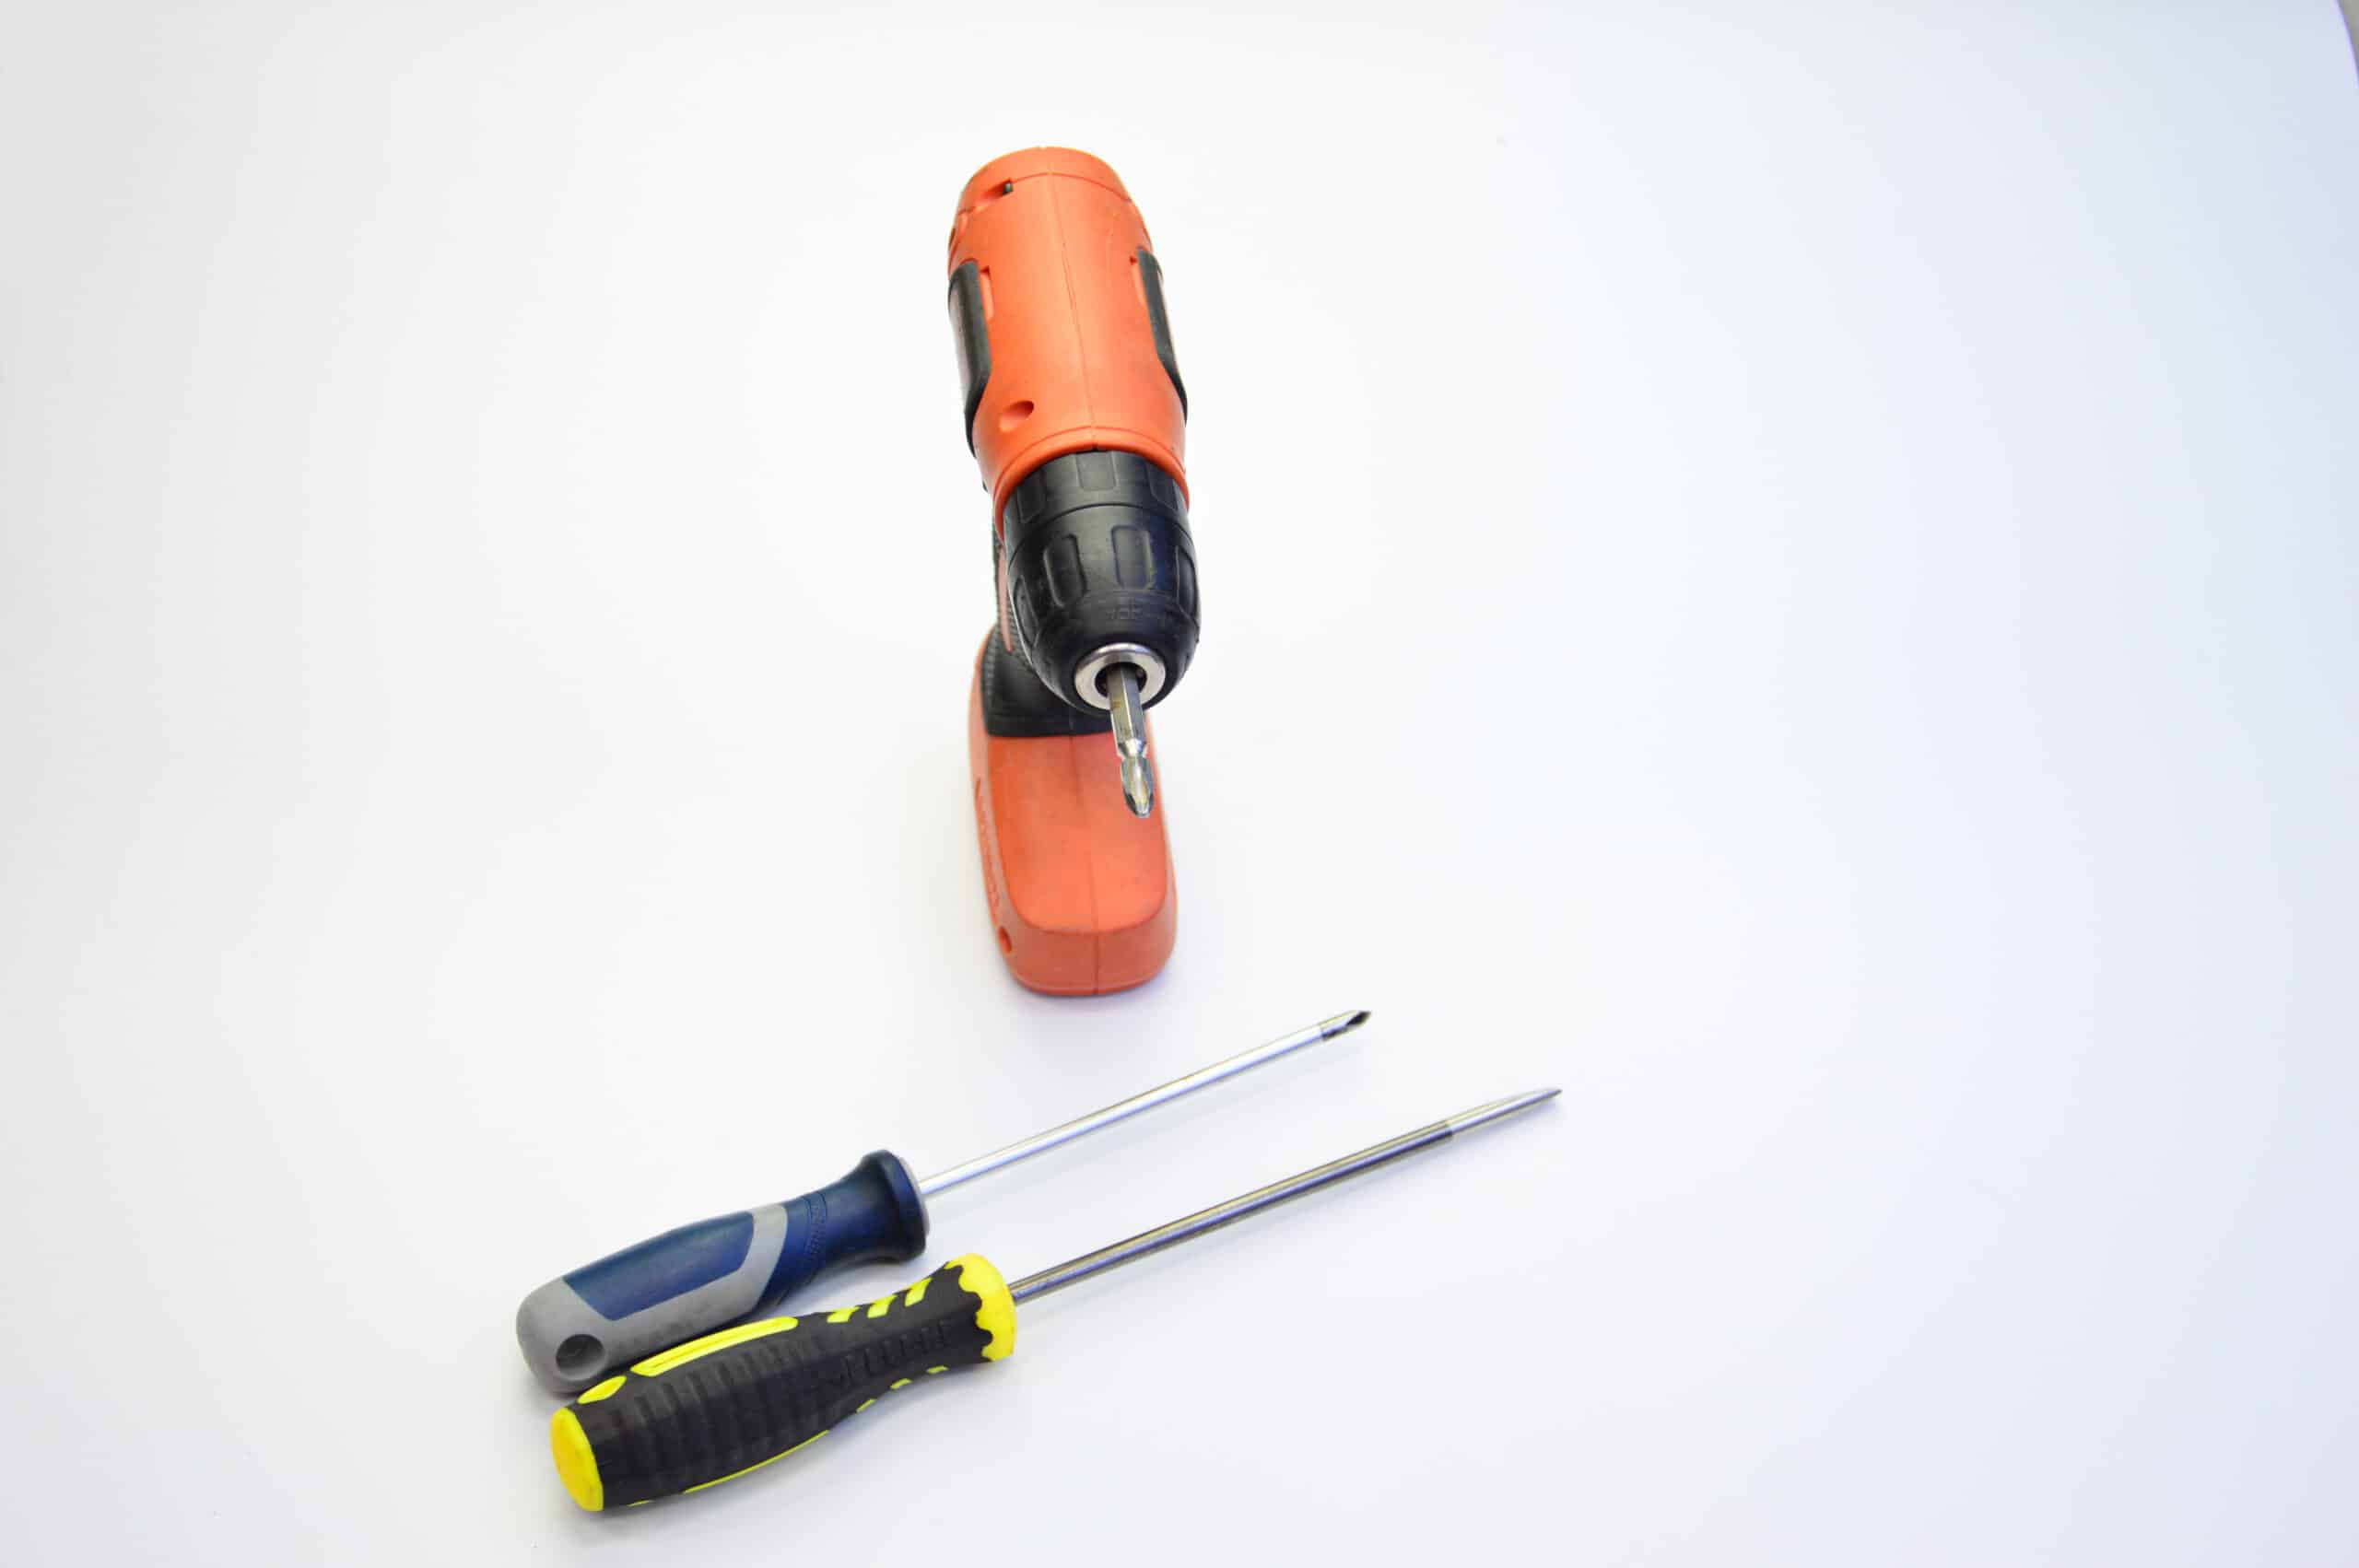
Choose the Right Drill
The first step in using your drill as a screwdriver is to select the right drill for the task. Look for a drill that has adjustable torque settings, variable speed options, and a compatible chuck size. These features will provide you with the necessary control and versatility to handle different screwdriving tasks.
Adjust the Drill for Screwdriver Mode
Once you have the right drill, it’s time to adjust it for screwdriver mode. Follow these steps:
- Set the direction of the drill to forward. This ensures that the drill rotates in the correct direction for screwdriving.
- Adjust the clutch setting on the drill. The clutch controls the amount of torque applied to the screw. For screwdriving, it’s best to start with a lower clutch setting and gradually increase it until the desired driving force is achieved.
- Select an appropriate speed for the screwdriving task. In general, a lower speed is recommended for driving screws, as it provides better control. However, for certain materials and screw sizes, you may need to adjust the speed accordingly.
- Ensure that the chuck is tightly secured. The chuck is the part of the drill that holds the screwdriver bit. Make sure it is properly tightened to avoid any wobbling or slippage during screwdriving.
Choose the Right Screwdriver Bit
Using the correct screwdriver bit is crucial for efficient and effective screwdriving. There are various types and sizes of screwdriver bits available, including flathead, Phillips, Torx, and hex. Choose the appropriate bit that matches the type of screw you will be using. For most screws, a No. 2 Phillips head driver bit is suitable. Insert the selected bit into the chuck and tighten it securely.
Test the Adjustments and Bit
Before proceeding with the actual screwdriving tasks, it’s important to test the adjustments and the bit. Turn on the drill and drive a screw into a scrap piece of wood or other suitable material. This will allow you to check if the clutch setting, speed, and bit are properly adjusted for the task at hand. Make any necessary adjustments before moving on to your actual project.
Using the Drill as a Screwdriver
Now that you have prepared your drill for screwdriving, it’s time to put it to use. Follow these tips for successful screwdriving:
- Set the drill speed to low for better control, especially when using Phillips head screws.
- Turn the action setting switch on the drill to the screw setting. This ensures that the drill applies the necessary driving force instead of drilling into the material.
- Adjust the torque setting on the drill to control the force applied to turn the screw. Use a lower torque setting for soft materials and a higher setting for harder materials.
- Keep pressure on the drill while driving the screw to ensure the bit stays in the head of the screw. This prevents slipping or stripping of the screw head.
- If the bit slips, stop immediately and replace it with a new one to avoid stripping the screw head.
Related Websites:
FAQs:
Q: What do I need to use my drill as a screwdriver?
To use your drill as a screwdriver, you will need the following accessories: a screwdriver bit set, a magnetic bit holder, and a depth stop or clutch setting. These accessories enhance your drill’s functionality and allow for efficient screwdriving.
Q: What are the advantages of using a drill as a screwdriver?
Using a drill as a screwdriver offers several benefits. It provides speed and efficiency, allowing you to drive screws quickly. Additionally, a drill offers better control and torque, reducing the effort required for screwdriving tasks.
Q: Why is a screwdriver bit set important for using a cordless drill as a screwdriver?
A screwdriver bit set is essential because it provides a variety of bits for different types of screws. It ensures compatibility with various screw heads, such as Phillips, flathead, or hexagonal, making your cordless drill versatile for any screwdriving task.
Q: How does a magnetic bit holder improve using a cordless drill as a screwdriver?
A magnetic bit holder enhances stability and prevents dropped screws while using a cordless drill as a screwdriver. It securely holds the screwdriver bit in place, reducing the chances of losing or dropping screws during the screwdriving process.
Q: What is the significance of a depth stop or clutch setting for using a drill as a screwdriver?
A depth stop or clutch setting is crucial for controlling the depth and torque while driving screws. It allows you to set a specific depth for the screw, preventing over-tightening or stripping. This feature ensures accuracy and protects the material being screwed into.


