Why is my drill not holding the bit?
Key Takeaways
- The most common reason for a drill not holding the bit is a loose or damaged chuck.
- Using the wrong type of drill bit can also cause the bit to not stay securely in the chuck.
- Applying too much pressure while drilling can cause the bit to slip or the chuck to release its grip.
Have you ever experienced the frustration of your drill bit constantly slipping or not staying securely in place? This common issue can be a major hindrance when trying to complete a project. Fortunately, there are several reasons why your drill may not be holding the bit, and there are practical solutions to address this problem. In this article, we will explore the common causes for a drill not holding the bit and provide you with expert advice on how to fix it.
1. Loose or Damaged Chuck
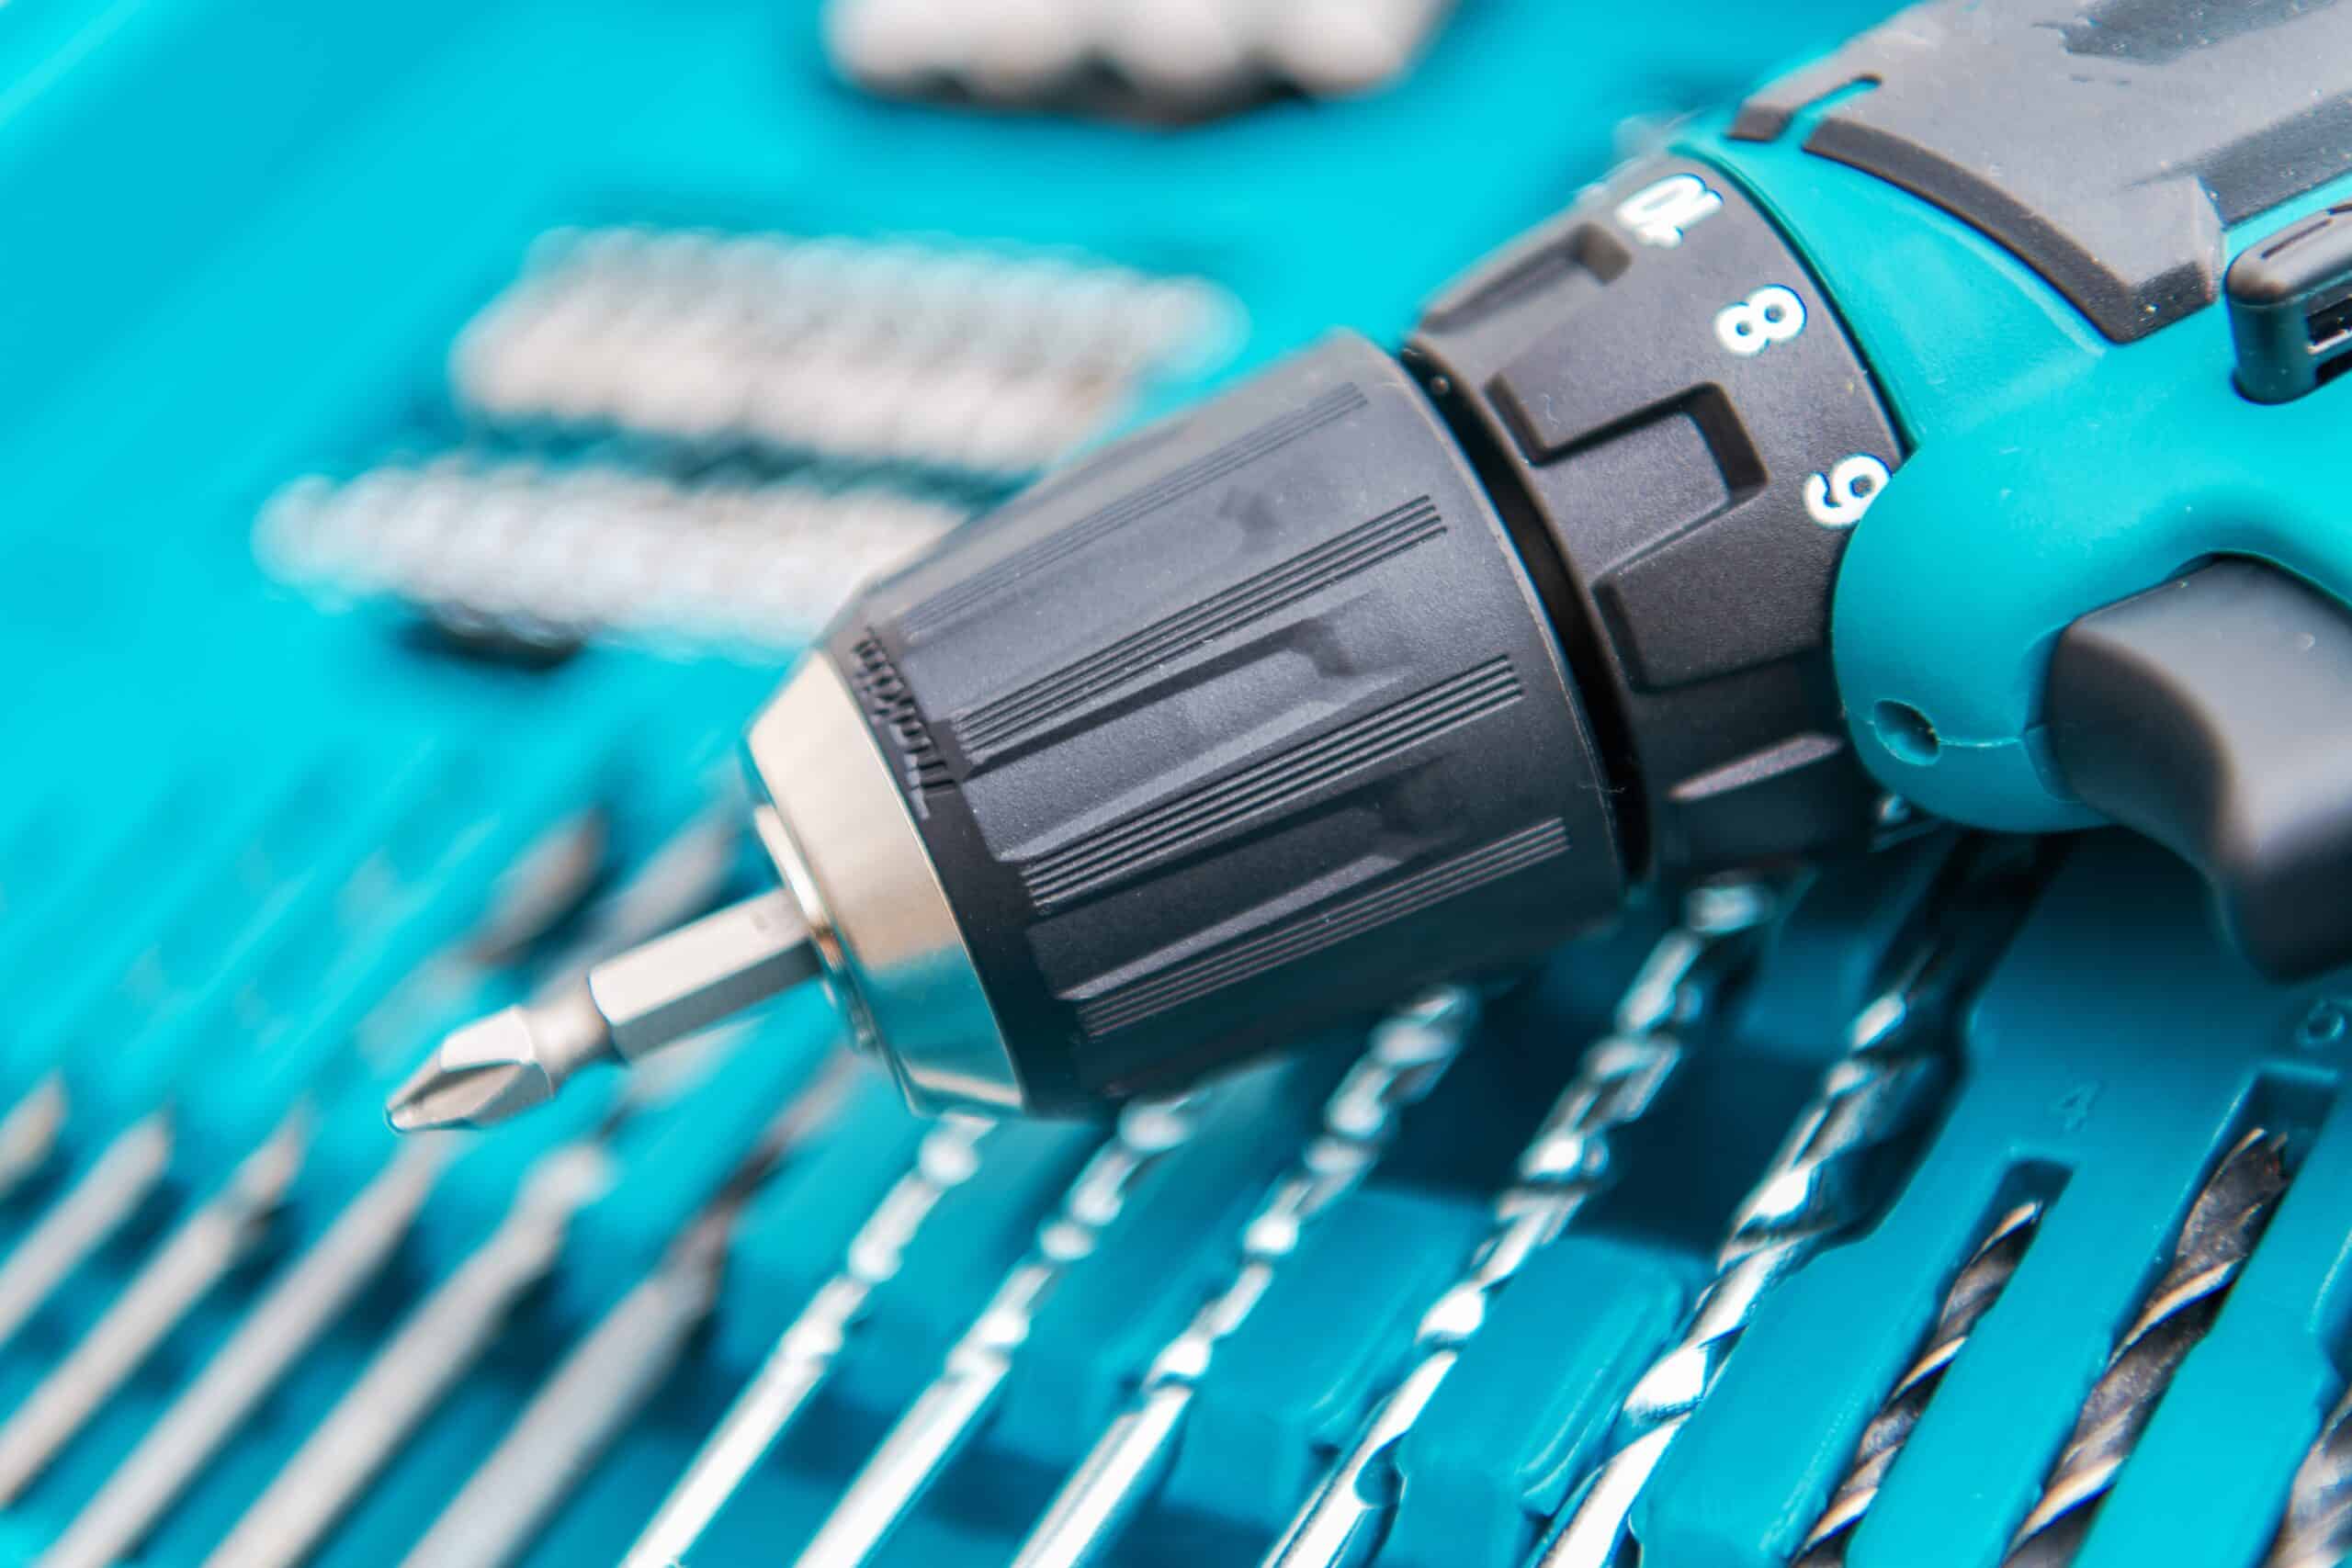
One of the most common reasons for a drill bit not holding is a loose or damaged chuck. The chuck is the part of the drill that holds the bit in place. Over time, the chuck can become worn out or develop looseness, causing it to no longer grip the drill bit securely. This can result in the bit slipping or falling out while drilling.
To fix this issue, you can try tightening the chuck securely by rotating it in a clockwise direction until it is tight. If the chuck is damaged and cannot be tightened, it may need to be replaced with a new one. It is recommended to choose a chuck designed to modern standards for optimal performance.
2. Using the Wrong Type of Drill Bit
Using the wrong type of drill bit for the job can also contribute to the bit not staying securely in the chuck. Different materials require different types of drill bits, and using an incompatible bit can lead to slipping or inadequate grip.
Ensure you are using the correct bit for the specific material you are drilling. Factors such as hardness, coating, shape, size, and flute design should be considered. Using a bit with more aggressive and sharp edges can also provide better friction and improve grip.
3. Applying Too Much Pressure
Applying excessive pressure while drilling can cause the bit to slip or the chuck to release its grip. It is important to find the right balance between drill speed and pressure. Applying enough downward force to maintain contact with the material without overloading the drill is crucial for proper bit retention.
4. Faulty Transmission or Gears
In some cases, the issue may lie within the drill’s transmission or gears. If these internal components are damaged or worn out, they may not be able to provide the necessary torque to hold the bit securely. If you suspect a problem with the transmission or gears, it is recommended to have the drill inspected and repaired by a professional.
5. Cleaning and Preparing the Workpiece
Ensuring a clean and dry workpiece surface is essential for proper grip. Any debris, dirt, oil, water, or lubricant on the surface can reduce friction and cause the bit to slip. Before drilling, clean the workpiece thoroughly and remove any substances that may hinder the grip.
6. Additional Tips and Solutions
Here are a few additional tips and solutions to help address the issue of a drill not holding the bit:
- Check the drill bit for dullness and replace it if necessary. A sharp bit can provide better grip and prevent slipping.
- Use a drill bit holder to securely hold the bit in place, especially when working with smaller or more delicate bits.
- Consider using drill bits with a split point design. This type of bit reduces slipping and allows for better precision.
- Take safety precautions such as wearing protective goggles and gloves. If the drill begins to slip or bind, stop immediately to avoid accidents.
Conclusion
If your drill is not holding the bit, it can be frustrating and hinder your progress. However, by understanding the common causes and implementing the appropriate solutions, you can overcome this issue and ensure a secure grip for successful drilling. Remember to check the chuck, use the correct type of drill bit, apply the right amount of pressure, and prepare the workpiece properly. By following these steps, you’ll be able to complete your projects efficiently and effectively.
Related Websites:
- Handyman’s World – Why Does My Drill Keep Stopping?
- Tool Trip – Common Cordless Drill Problems
- Builder Create – How to Stop Drill Bit Slipping in Chuck
- Power Men Tools – Why Does My Drill Bit Keep Slipping?
- DIY Stack Exchange – Why do only some drill bits slip out of my drill chuck?
- Tool Advice – Why Does My Drill Chuck Slip?
FAQs:
Q: Why is my drill not holding the bit?
If your drill is not holding the bit securely, it can lead to inefficiency and frustration during drilling tasks. Understanding and resolving this issue is essential for a smooth and productive drilling experience.
Q: How can I determine the appropriate bit size for my drill?
Using the correct bit size is crucial for optimal performance and safety. To determine the appropriate bit size for your specific drill, refer to the drill’s manual or consult a professional. They can guide you in selecting the right bit size for your drilling needs.
Q: What are the signs of a worn-out chuck?
Signs of a worn-out chuck include slipping or loose grip on the bit, difficulty in tightening the chuck, or visible wear and tear on the chuck mechanism. If you notice these signs, it is recommended to replace the chuck or lubricate the chuck mechanism for improved grip.
Q: Why is regular cleaning of the chuck important?
Regularly cleaning the chuck is vital to maintain a debris-free mechanism. A clean chuck ensures a secure grip on the bit and prevents any obstructions that may hinder the drill’s performance. Use appropriate tools and methods to clean the chuck thoroughly.
Q: What should I do if I suspect bent or damaged chuck jaws?
If you suspect bent or damaged chuck jaws, it is advisable to seek professional assistance for repair or replacement. Bent or damaged jaws can compromise the chuck’s ability to hold the bit securely, affecting drilling accuracy and safety.

