Why Won’t My Drill Go All the Way In?
Key Takeaways
- Wrong Direction of Rotation: Double-check the direction of rotation and ensure it is set to the forward position.
- Blunt Drill Bit: Check the condition of your drill bit and replace it if necessary to ensure smoother and more efficient drilling.
- Dying Batteries: Make sure your batteries are fully charged or consider replacing them if they are old or no longer holding a charge.
Have you ever encountered a situation where your drill won’t go all the way in? It can be frustrating and can hinder your progress on a project. However, there are several common reasons why this might be happening. In this article, we will explore the possible causes and provide you with troubleshooting tips to help you overcome this issue.
1. Wrong Direction of Rotation
One possible reason why your drill won’t go all the way in is that it is not in the forward position. Double-check the direction of rotation and ensure it is set to the forward position. This simple mistake can easily be overlooked but can prevent the drill from effectively drilling into the material.
2. Blunt Drill Bit
A blunt or worn-out drill bit can significantly affect the performance of your drill. Over time, the cutting edges of the drill bit can become dull, making it difficult to penetrate materials. Check the condition of your drill bit and replace it if necessary. Using a sharp drill bit will ensure smoother and more efficient drilling.
3. Dying Batteries
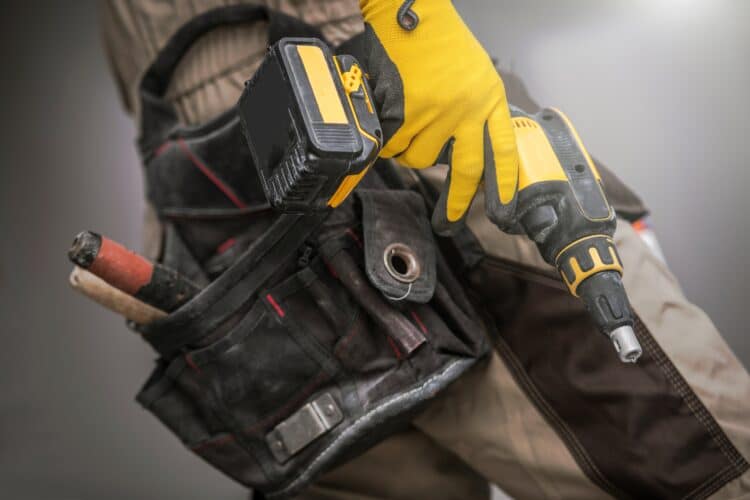
If you are using a cordless drill, dying batteries could be the culprit. Insufficient power can cause the drill to struggle or even stop before going all the way in. Make sure your batteries are fully charged or consider replacing them if they are old or no longer holding a charge.
4. Obstacles in the Material
There are various obstacles that can hinder the progress of your drill. For example, when drilling through walls, you may encounter metal plates covering pipes or electrical wires. These plates are designed to protect the underlying components and can be challenging to drill through. Similarly, masonry constructions like brick or cement can also pose difficulties. In newer constructions, steel studs are often used, which can be harder to drill through compared to wood studs. Additionally, less common obstructions such as soundproofing, concrete firewalls, or nails in plaster walls can impede the drilling process.
5. Wood Thickness or Complexity
If you are drilling into wood, the thickness or complexity of the material can affect your drill’s performance. Thick or dense wood may require a more powerful drill or a specialized drill bit to penetrate effectively. Additionally, if you are drilling into a piece of wood with knots or irregularities, it can make the drilling process more challenging. In such cases, it is important to use the correct technique and apply sufficient pressure to ensure successful drilling.
6. Incorrect Drill Bit Size
Using the incorrect drill bit size for the wood can also prevent your drill from going all the way in. A drill bit that is too small may not create a large enough hole, while a drill bit that is too large can cause the drill to slip or become unstable. Make sure to use the appropriate drill bit size for the task at hand.
7. Insufficient Pressure or Incorrect Technique
Applying enough pressure and using the correct drilling technique are crucial for successful drilling. If you are not exerting sufficient pressure, the drill bit may not be able to penetrate the material effectively. Additionally, using the wrong technique, such as drilling at an angle or applying uneven pressure, can result in a drill that won’t go all the way in. Ensure that you are using a steady and perpendicular motion while drilling and apply firm and consistent pressure.
8. Motor or Gear Problems
If none of the above troubleshooting steps resolve the issue, there may be a problem with the drill’s motor or gears. In such cases, it is recommended to seek professional assistance for repair or contact the manufacturer for further guidance.
Related Websites:
- Power Tool Base – Why Won’t My Drill Go Through the Wall?
- Drillay – Why Won’t My Drill Go Through Wood?
- Tool Trip – Common Cordless Drill Problems
- Appliance Chat – DeWalt Drill Issues
- Handyman’s World – Why Does My Drill Keep Stopping?
- Tips Handyman – Here’s Why Your Drill Bit Stops Spinning with Fixes
- Gordon’s Tools Blog – Drilling Tips and Tricks
FAQs:
Q: Why won’t my drill go all the way in?
There can be several reasons why your drill won’t go all the way in. It could be due to user error, material hardness, battery life, drill maintenance, or even mechanical issues. Understanding these factors will help you troubleshoot and find the appropriate solution.
Q: How can improper drilling technique affect my drill’s performance?
Improper drilling technique can greatly affect your drill’s performance. Factors such as using the wrong drill bit size, drilling at the wrong angle, or not applying enough pressure can prevent the drill from going all the way in. It is important to use the correct technique to ensure optimal results.
Q: Can the hardness of the material being drilled affect my drill’s performance?
Yes, the hardness of the material being drilled can impact your drill’s performance. Harder materials like concrete or metal may require specific drill bits or higher drill power to penetrate effectively. It is important to use the appropriate tools and techniques for different material types.
Q: How does low battery power affect my drill’s performance?
Low battery power can significantly affect your drill’s performance. It is essential to ensure your battery is fully charged before using the drill. For tougher tasks, you may consider using a more powerful drill or having spare batteries on hand to maintain optimal performance.
Q: What maintenance should I perform on my drill to ensure optimal performance?
Regular drill maintenance is crucial for optimal performance. Blunt drill bits, a dirty or damaged chuck, or worn-out components can hinder the drill’s efficiency. It is recommended to sharpen or replace drill bits, clean the chuck regularly, and inspect the drill for any signs of damage.

