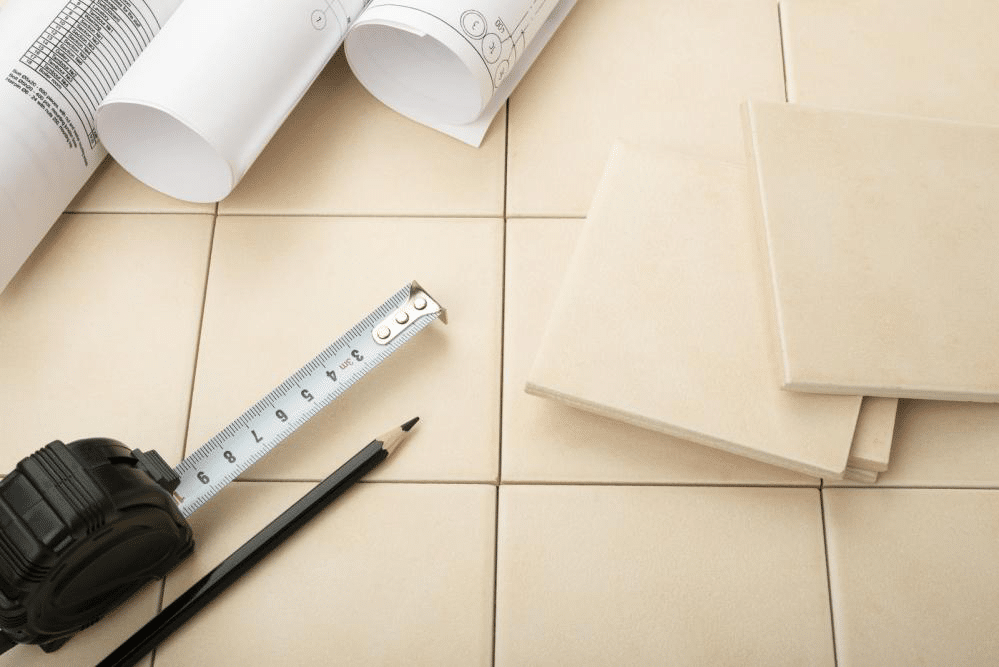
Whether you’re fixing the tiles on your patio or designing a mosaic for your child’s bathroom wall, tile-cutting is an essential part of the job. You can cut tiles without a tile cutter, but you will need other tools such as a grinder or a saw.
1. Use a Grinder
With the help of a grinder, you can either trim a tile to fit it in the corner of the room or cut it into a different shape entirely. Use a crayon, pencil or marker (NOT a permanent marker) and mark the area that needs to be trimmed. If the tile is of a dark color, cover the tile with tape and draw on top of it.
Secure the tile onto a flat work surface with a clamp. Cutting tiles is likely to create a lot of dust, so it’s recommended to work outdoors or in a very well-ventilated space. When you start using the grinder, ensure that the part of the tile that you’re cutting is hanging off the edge of the worktop to avoid cutting that too.
Use a blade with a continuous rim on your grinder to avoid getting jagged edges on your tile as you cut. Make sure to wear protective goggles (and a dust mask if it’s a long job) when working with a grinder.
Don’t cut through the tile the first time you go over it with the blade. The first step should just be to score the outline you drew previously. Depending on the material and thickness of your tile, this may take a few rounds. If you want a smooth finish, don’t rush the process.
2. Use a Wet Saw
If you’re new to doing household tasks yourself, a wet saw can feel like a strange and dangerous tool. However, it’s great for cutting tiles quickly with a smooth finish. Wet saws can be a bit expensive, so they’re better suited for bigger jobs, good quality tiles and small tiles that need to be handled carefully.
Mark the tile in the same way you would when using a grinder. Fill the tray of the wet saw with water till the fill line (this will keep the saw blade cool as you work). Water is likely to splash out so make sure you work in a space where cleanup won’t be troublesome.
Line the saw blade with your outline. Make sure that your work surface is completely flat to avoid any wrong cuts.
The next step is to figure out how the lock plate/ fence works. The fence can be adjusted to fit your tile. Once you lock it into place, you’re ready to start sawing. Put on your goggles and safety gloves and switch the saw on. Gently push your tile along the fence.
You won’t need to apply any pressure because the tile should just glide through. Make sure you press the two pieces together to avoid cracking or breaking. If you feel like the blade is straying from your outline, just push the tiles into place again.
The process takes longer for bigger and thicker tiles, but just be patient, and don’t look away at any point. Once the tile is completely cut and away from the blade, you can switch the saw off. Before you store the saw, clean it with a damp cloth to remove any dust and grit. Wet saws are a great way to cut tiles without a tile cutter, especially if you’re working with premium quality tiles.
Precautionary Note
The debris given off when using a wet saw can cause your eyes to become swollen and puffy, make your throat itch or give you a dry cough. It is advisable to wear a respirator mask and goggles to protect yourself as you work. Wearing gloves is also advised to avoid any unfortunate cuts from a broken tile or a rouge blade.
3. Use a Glass Cutter
If you have a handful of ceramic tiles that need to be fitted in a small, broken patch behind your backdoor, a glass cutter is a great tool to cut tiles without a tile cutter. Using a ruler or set-square, draw straight lines to mark off the area you want to cut (any straight-edged item can be used as a guide for you to draw the line).
Apply a little pressure and drag the glass cutter across your drawn line. The aim is to indent the tile, not to cut through it. You can keep the ruler/ square on the tile to help you cut straight.
For the next step, you can use either a thin wire hanger or any other wire thin enough to fit into your indent (place it on the lower side of the tile). Once you’ve done this, gently press the tile downwards so that it breaks along your indented lines. If the tile isn’t breaking cleanly, don’t apply too much force since that will destroy the tile. Instead, repeat the scoring process until the tile breaks easily.
As always, it is recommended that you wear safety goggles while you work. If your tiles have rough edges one you’re done, you can use a brick or concrete block to sand and smoothen it.
4. Use a Tile Nipper
Tile nippers are a nifty tool to use if you just want to snip the edge off a tile (NOT suitable for straight edges). Mark a line for the area you want snipped-off and indent it (you can even use a glass cutter for this step). Use the tile nipper and start snipping.
Don’t try to trim too much of the tile at once or you risk cracking it or cutting beyond your line. Once you’re done, sand the edge of the tile along a concrete block or a brick to smooth it out.
Cut Wisely
It is important to remember that not all methods work with every type of tile. For instance, glass cutters are generally only suitable for ceramic tiles or other small tiles.
If you’re cutting larger tiles for a larger area, a wet saw is worth the time, effort and investment because the chances of you damaging your tile are lower and the finish is cleaner and smoother. If you’re working with curved or rounded edges, an angled grinder can also do the job.
So whether you’re trying to fit ceramic tiles on your front steps or porcelain tiles in your dining room, you can easily get the job done without using a tile cutter. Just remember to wear the necessary safety items, such as goggles and gloves to avoid any casualties.
And most importantly, be patient. Trying to speed up the process may damage your tiles and while this won’t cost much if you’re working with cheaper tiles, it can set you back if you’re using high-end tiles.


