How do you drive a screw with a drill?
Key Takeaways
- Choose the right drill and screw bit for the task
- Follow the proper technique for driving screws with a drill
- Implement additional tips for better results, such as pre-drilling, using the correct drill bit size, adjusting depth stop, clearing swarf, using painter’s tape for protection, step up drill bit sizes, and adjusting drill speed according to the material
Driving a screw with a drill is a common task in woodworking and other DIY projects. It allows for fast and efficient fastening of materials. In this article, we will explore the various techniques and tips for using a drill to drive screws effectively and safely.
The Proper Technique
Using a drill to drive screws requires following a step-by-step process. Let’s break down the proper technique:
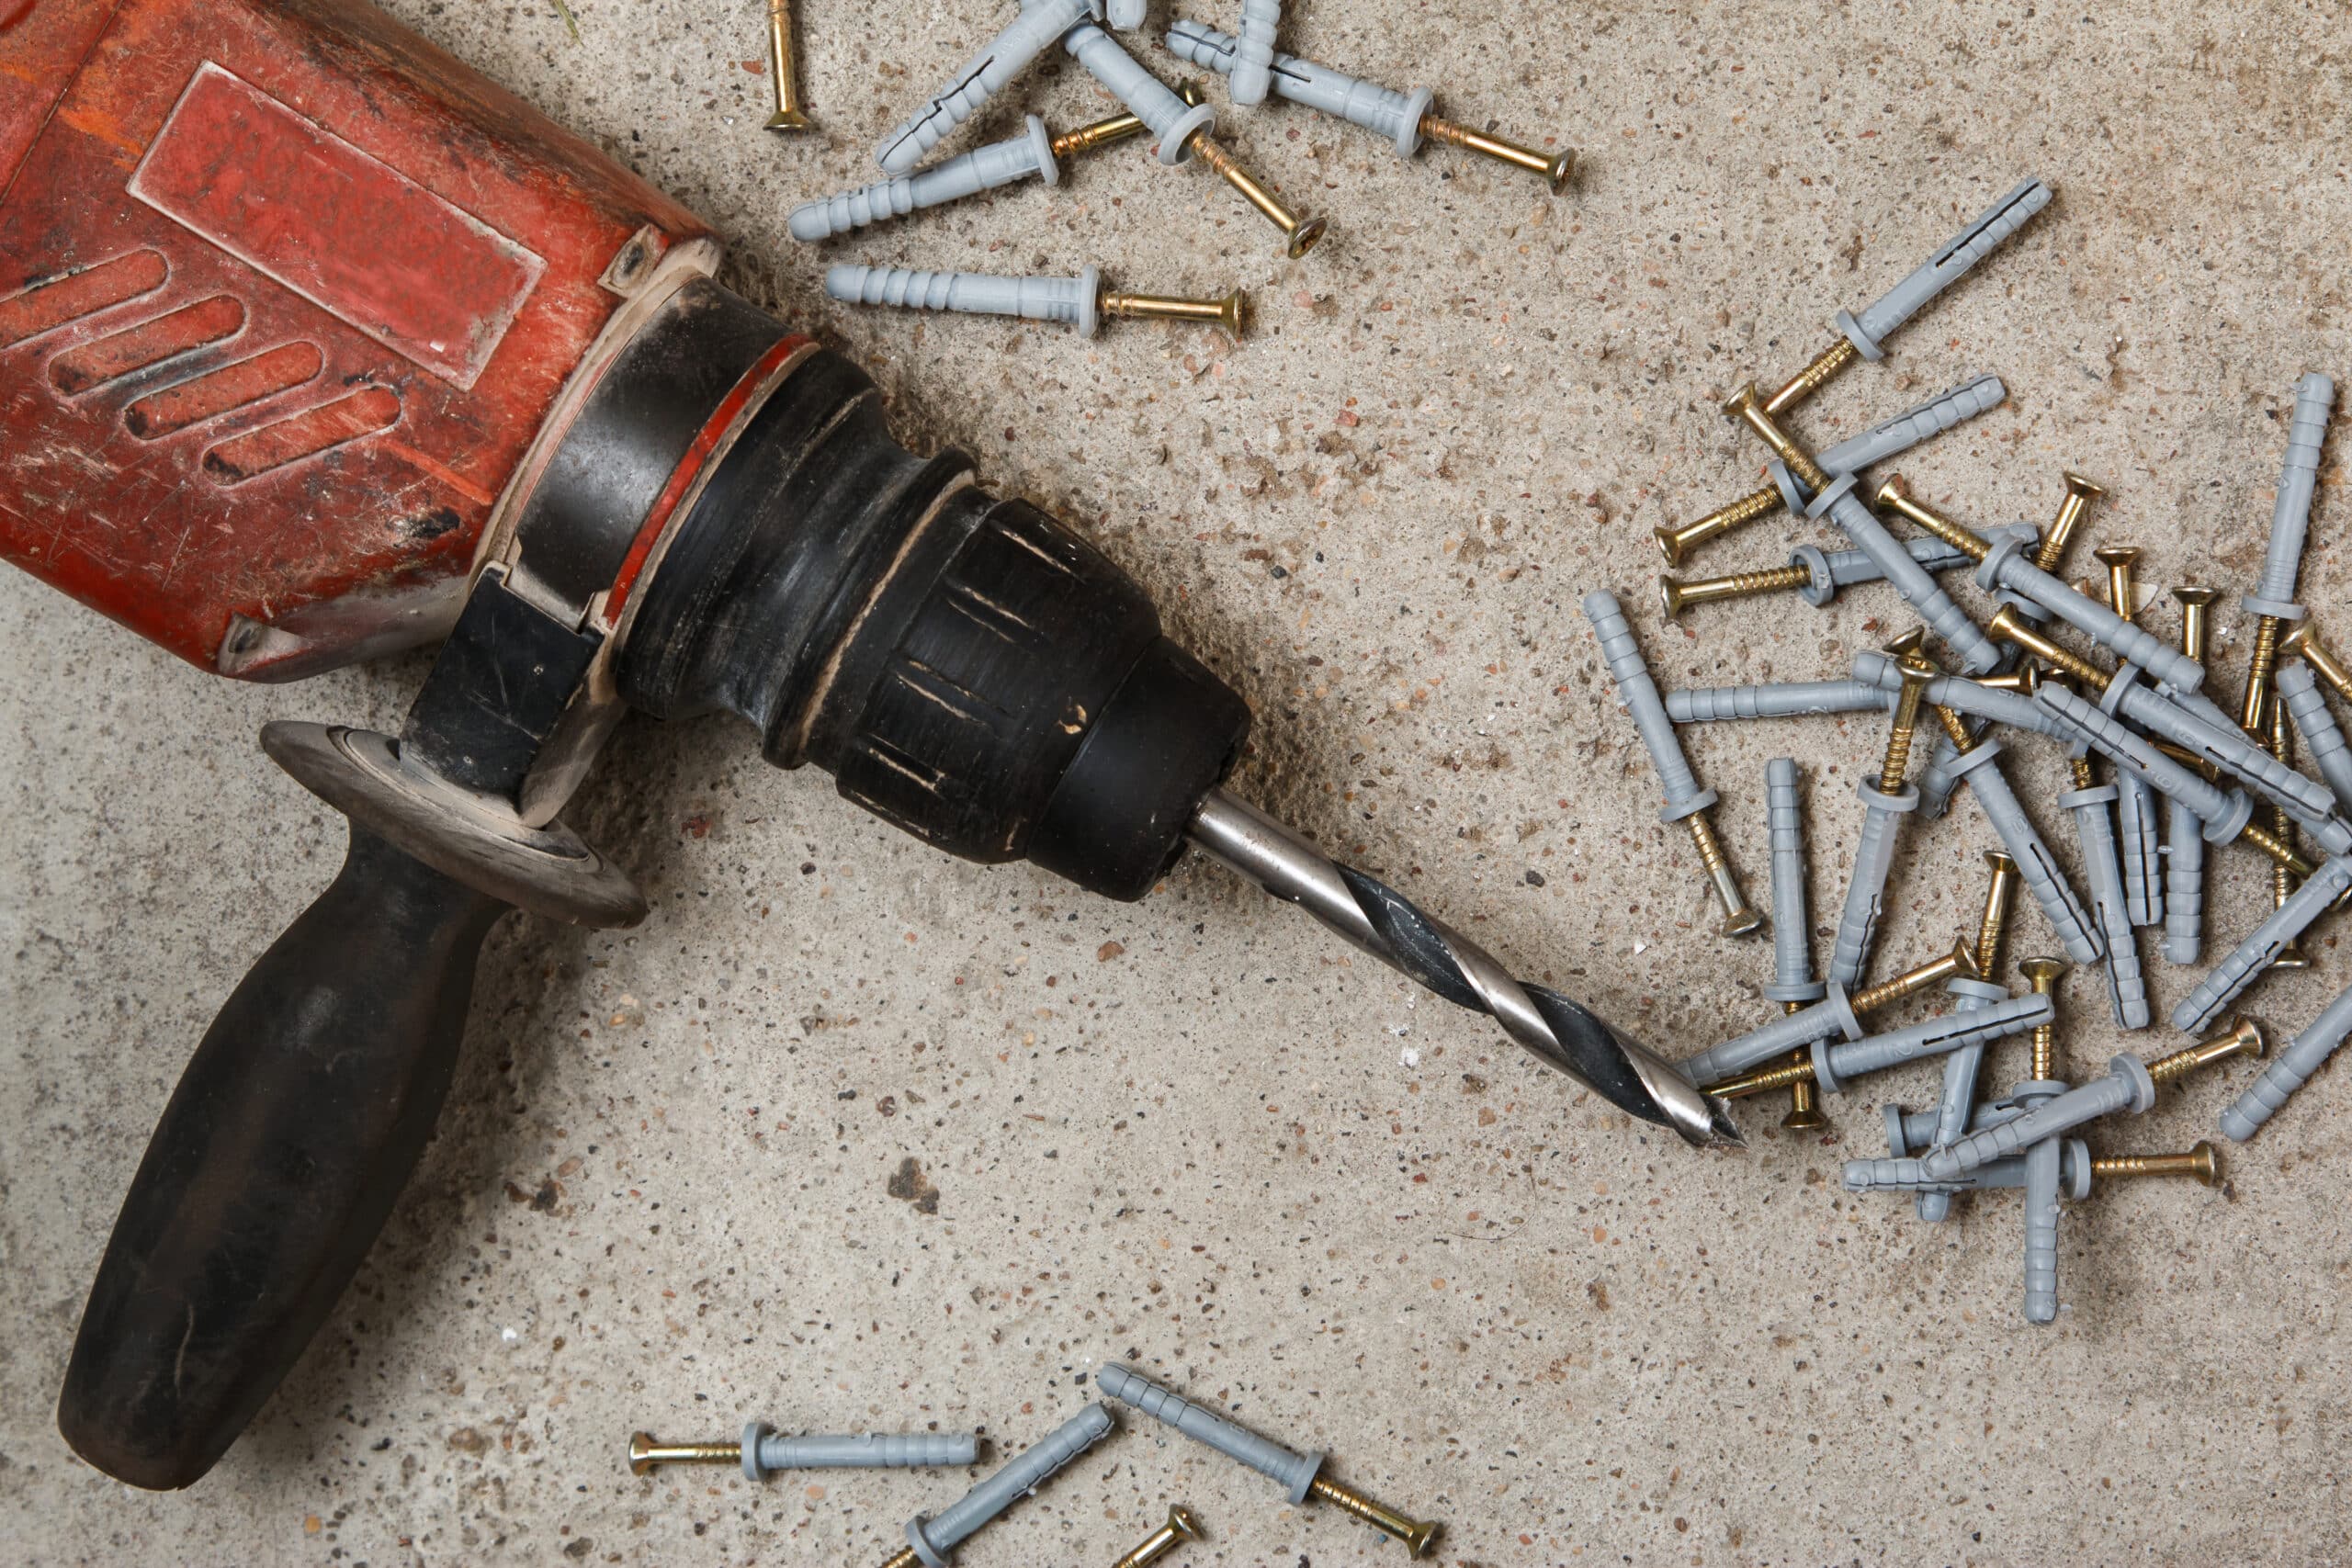
- Choose the Right Drill and Screw Bit: Start by selecting a suitable cordless drill driver with fully charged lithium-ion batteries. This ensures you have enough power for the task at hand. Additionally, choose the correct screw and corresponding drill bit. The drill bit size should match the screw size to ensure a secure fit.
- Secure the Screw Bit in the Chuck: Insert the screw bit into the chuck and tighten it according to the manufacturer’s instructions. A secure attachment prevents the bit from slipping during operation, ensuring accuracy and safety.
- Set the Torque and Speed: Adjust the drill torque settings to suit the target material. Different materials require different levels of torque. Additionally, set the drill driver to the appropriate speed for the task. Higher speeds are suitable for drilling into wood, while slower speeds are preferable for metal and other hard materials.
- Align the Screw Bit: Position the screw bit with the screw head, ensuring proper alignment. This will prevent stripping the screw head and ensure a secure fastening.
- Start Slowly and Apply Steady Pressure: Gently squeeze the drill driver trigger to begin rotation and penetration. Start with a slow speed to have better control over the process. Apply steady pressure as the screw penetrates the material, allowing the drill bit to do the work. Avoid using excessive force, as it can lead to damage or stripped screws.
- Stop at the Right Depth: Release the trigger when the screw has reached the correct depth or when the clutch disengages. This prevents overdriving the screw and damaging the material.
- Repeat as Needed: If you have multiple screws to drive, repeat the process for each one, ensuring proper alignment and depth for each screw.
Tips for Driving Screws with a Drill
Now that we have covered the basic technique, let’s explore some additional tips to enhance your screw-driving skills:
- Pre-drill for Better Results: Pre-drilling a pilot hole before driving a screw can prevent splitting and make driving the fastener easier. It is especially important when working with hardwood or dense materials.
- Use the Right Drill Bit Size: Choosing the correct drill bit size for the screw is crucial for a secure and tight fit. Using a bit that is too small or too large can result in a loose or damaged fastening.
- Adjust Depth Stop: Setting the depth stop on the drill ensures the screw goes in at the right depth. This is particularly important when working with delicate materials or when a flush or recessed screw head is desired.
- Clear Swarf Periodically: Swarf refers to the waste material generated when drilling. To prevent clogging and ensure smooth operation, back the drill bit out periodically to clear the swarf.
- Use Painter’s Tape for Protection: When working with delicate surfaces or to prevent splintering, applying painter’s tape over the area where you plan to drill can offer protection and maintain the integrity of the material.
- Step Up Drill Bit Sizes: When drilling holes for larger screws, it is recommended to start with narrower drill bits and gradually work your way up in diameter. This helps to prevent excessive force and reduces the risk of splitting the material.
- Use High Speeds for Wood, Low Speeds for Metal: Adjusting the drill speed according to the material being drilled is crucial. Higher speeds are suitable for wood, while lower speeds are preferable for metal and other hard materials.
- Follow Material-Specific Techniques: Different materials may require specific techniques for driving screws. For example, when working with metal or masonry, it is essential to follow the appropriate steps for drilling into these materials.
By following these techniques and tips, you can confidently drive screws with a drill, achieving secure and professional results in your woodworking and DIY projects.
Related Websites:
FAQs:
Q: Why should I use a drill for driving screws?
Using a drill for driving screws offers convenience and saves time compared to manual screwdrivers. The power and speed of a drill make it easier to drive screws into various materials.
Q: What are the different types of drill bits and their functions?
There are various types of drill bits including twist bits, spade bits, and screwdriver bits. Twist bits are versatile and can drill into different materials, while spade bits are ideal for drilling larger holes. Screwdriver bits are specifically designed for driving screws.
Q: How do I choose the right screw for the material?
Choosing the correct screw for the material is important for a secure and durable connection. Consider factors such as the material’s thickness, density, and whether it requires rust-resistant screws. Consult a hardware store or refer to screw manufacturer guidelines for recommendations.
Q: What is the proper technique for driving a screw with a drill?
To drive a screw with a drill, align the drill bit with the screw head, apply gentle pressure, and start drilling slowly. Gradually increase the speed while maintaining steady pressure. Stop drilling once the screw is fully driven in. Avoid overdriving the screw to prevent damage.
Q: How can I achieve a professional finish when driving screws?
For a professional finish, consider countersinking screws to create a flush surface. Additionally, fill any visible screw holes if necessary. Cleaning up the workspace after completing the task is also important for a neat and organized outcome.


