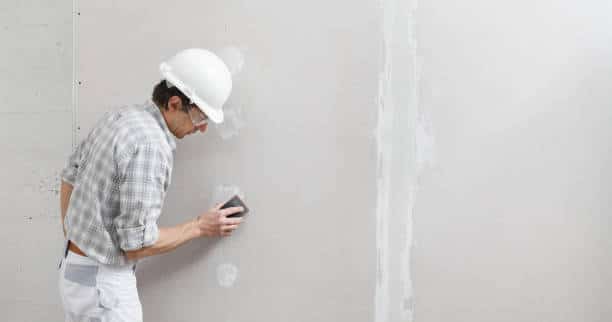
Drywall sanding is one of those jobs in construction that no one enjoys doing. Not only is it dirty and tedious, but it’s also the final chance to get rid of all the seams, creases, ridges, and lumps. This is why it is something that requires a lot of attention to detail, otherwise, all the flaws will become glaringly obvious after the paint is applied. Most construction workers will avoid taking sanding jobs because of how much work they take. However, if you know what you are doing, drywall sanding can become much easier and simpler. Here are a few best way to sand drywall basic sanding tips that will help you get a flawless finish every single time.
Best Way To Sand Drywall Tips
1. Prepare in advance
Sanding is going to be really dirty and there is going to be drywall dust everywhere. Make sure you make some sort of arrangement in advance otherwise the dust is going to be everywhere in the house.
You should start by laying down some plastic sheets then use masking tape to cover all the air ducts and doorways so the dust doesn’t travel to other rooms of the house. You can also ventilate the room by using mount box fans in windows or simply open all the windows before starting. Also, make sure you wear a dust mask or a respirator along with glasses and a hat to completely cover yourself while you work.
2. Get the right tools
You can buy a dustless drywall sanding attachment for your vacuum cleaner and say goodbye to all the dust that comes with drywall sanding. This will help make your job much easier and faster.
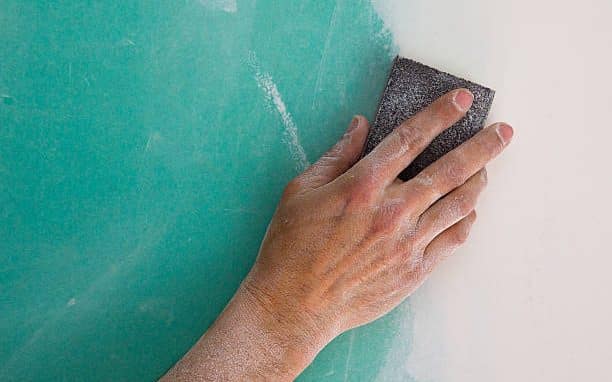
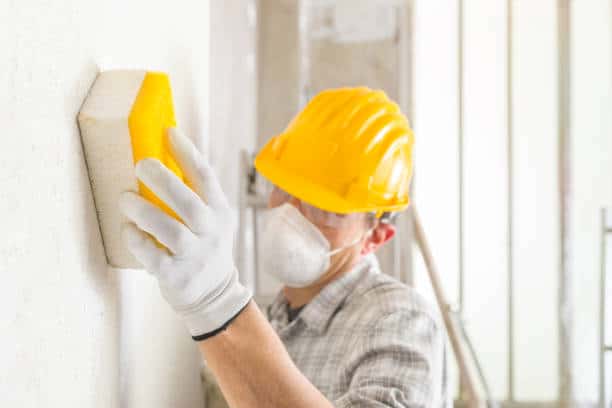
You should also get a sanding sponge which will help you easily sand the inside corners. It is a great tool to have handy because with a conventional hand sander you might end up over-sanding one side while trying to smooth out the other.
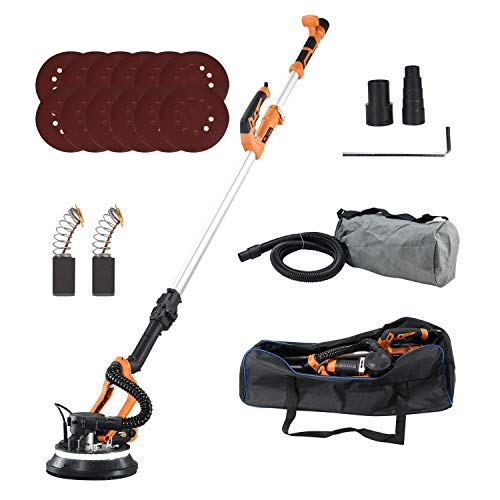
Last but not the least, you are going to need a pole sander to get the job done. A pole sander will help you reach places that you would normally need a ladder to reach. Plus, using a pole sander is much more convenient and faster than using a hand sander from a ladder.
3. Identify the areas that require details sanding
Before you get started you need to identify the areas that need detailed sanding and check for any problems that may need extra work. Use a handheld light or a backlight positioned on one side of the wall. Use a lead pencil to mark all the problematic areas and use a joint compound to touch up before you use a sander to smoothen them out.
Also, make sure you don’t use a hand sander when sanding the corner because corners can be quite tricky and need detailed sanding. So it is best to use a sponge sander or a small piece of folded sandpaper so you don’t damage the opposite sides of the corner.
4. Use the right sandpaper
The best sandpaper for drywall sanding is 150 grit sandpaper. Not only does it eliminate the risk of over sanding, which you can get with heavier grit sandpaper, it also gives you a much cleaner and smoother finish. Heavy sanders on the other hand might leave uneven marks on the surface of the walls. So, look for precut sheets of 150 grit sanding paper that will easily fit on your hand sander.
5. Be careful when fixing ridges and gouges
When you notice ridges and gouges, your first instinct might be to sand them and make them smooth. However, that is the last thing you should be doing. This is because sanding those areas might end up damaging the tape on the drywall. You should instead cover those areas with an additional layer of a compound or repair them separately.
Different Ways to Sand Drywall
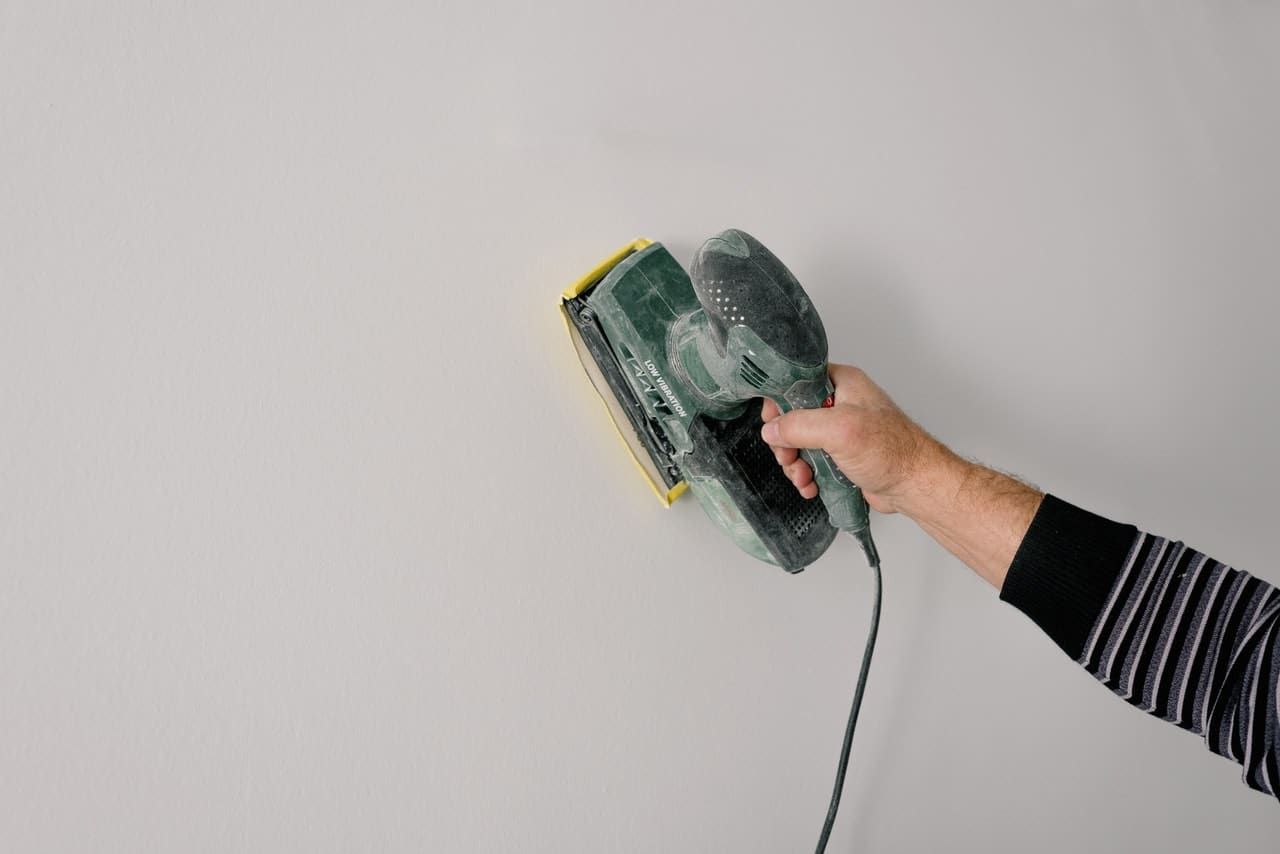
Power Drywall Sanding
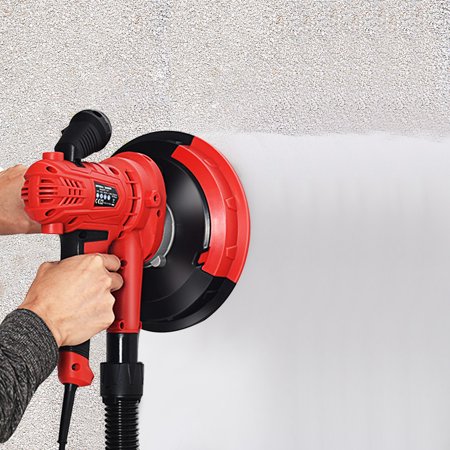
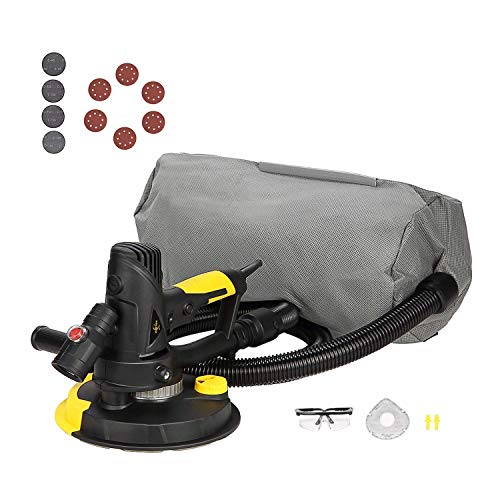
Power sanding is one of the easiest ways to sand drywall. However, you might have to spend some extra cash. Power sanders will get the job done in a fraction of the time it would take you to do it by hand, however, power sanders fail when it comes to sanding tight areas. Still, auto sanders do most of the work with the added advantage of not leaving too behind for you to clean up because they come with vacuum-powered dust collection bags.
However, if you aren’t willing to spend the big bucks and invest in a power sander, you can try a vacuum hand sander that will hook up to your shop vacuum and take care of most of the dust output. They are much easier to afford.
However one of the downsides of using such sanders is a lack of flexibility. They can be a bit tough to maneuver around tight spaces because of the lack of flexibility where the sander meets the suction tube. Moreover using a suction vacuum hander sander can take a bit of getting used to because too much suction can sometimes make the sander stick to the wall, whereas too little suction will allow large amounts of dust and debris to escape. So it is important that you learn to adjust the suction before you can start working with a vacuum hand sander. If you need ear protection using power tools, check out our recos. Looking for some of the best power drywall sander options:

- Variable speed adjustment operates anywhere from 600 to 1500 RPM
- Hook-and-loop base pad makes changing sandpaper easier than ever
- 5-Amp head-mounted motor provides maximum torque to the sanding disk
Prices pulled from the Amazon Product Advertising API on:
Product prices and availability are accurate as of the date/time indicated and are subject to change. Any price and availability information displayed on [relevant Amazon Site(s), as applicable] at the time of purchase will apply to the purchase of this product.
- TOUGH; This sander from Pro Tools Solutions features rock solid design crafted from durable materials.
- QUALITY; Each electric sander has undergone stringent examination and hundreds of hours of development.
- CLEAN; For professional drywall sanders with vacuum attachments that are strong on suction, but low on mess.
Prices pulled from the Amazon Product Advertising API on:
Product prices and availability are accurate as of the date/time indicated and are subject to change. Any price and availability information displayed on [relevant Amazon Site(s), as applicable] at the time of purchase will apply to the purchase of this product.
- THIS IS A MUST HAVE: This is one energy saving, time saving, emotion saving, lung saving dust-free drywall vacuum sander!
- FLOATING HEAD & ADJUSTABLE SUCTION: 7 inch pad with floated motion will adjust automatically to make sure the sanding is even.
- WORK FASTER & LESS DUST: 6.0A motor provides high power to work efficiently and variable speeds are to meet the needs of the surfaces for both rapid material removal or fine finishes.
Prices pulled from the Amazon Product Advertising API on:
Product prices and availability are accurate as of the date/time indicated and are subject to change. Any price and availability information displayed on [relevant Amazon Site(s), as applicable] at the time of purchase will apply to the purchase of this product.
Dry Drywall Sanding
Dry sanding is the most commonly used sanding method as it gives you the maximum amount of control and produces the smoothest finish which is crucial if you plan on painting the drywall. However, there are many downsides to going with dry sanding, one of the biggest ones being an uncontrollable dust storm.
Still, if you are looking for a clean and smooth finish, dry sanding is your only option. The best way to reduce the clean-up work is to lay down plastic sheets, close all the doors leading to other rooms well, and open all the windows to provide some ventilation.
Also make sure you wear a mask, glasses, gloves, and completely cover your body to save yourself from the dust. You should also cover your head because you don’t want the dust getting into your hair. Even though dry sanding is one of the toughest ways to sand drywall, it provides the best final results which makes it completely worth it.
Wet Drywall Sanding
Many people prefer wet sanding over dry sanding because it takes care of all the dust and clean-up that comes with dry sanding. It is perfect for sanding tough corners and small patches, but it doesn’t give you the smooth finish that you get with dry sanding. Although wet sanding is much easier than dry when it comes to the cleanup part, it does take a lot more time and effort. This is because you have to rub the patches in a circular motion with the coarse side of a damp sponge until it becomes smooth. Then you have to wait till it dries up before you can add the final finish.


