Regardless of what piece of furniture you’re making, one thing you’ll likely need is a 45-degree angle cut. The angle is handy when you have to make a joint in your project. Hence, it’s important to learn how to make 45-degree angle cut, and one great tool to use in achieving this is your circular saw, as it lets you quickly achieve your 45-degree angle cut with less effort. Learning how to cut 45 degree angles with a circular saw is also important as you can use the method to perform miter cuts with this saw.
How to Cut 45 Degree Angles with a Circular Saw?
Here’re the few and simple steps to make a 45-degree angle for your piece. These steps don’t require excellent skills to master, and you can use them to cut other mitered cuts as well.
Step 1: Set the Depth
Before embarking on a cut, it’s necessary to set the depth of your blade. Setting the blade depth for each work lets you have an accurate result.
Doing this requires you to adjust the saw base plate that the blade is about ¼” deeper than the wood board bottom. When you’re sure to have achieved this, tighten the adjusting lever on your circular saw.
Step 2: Set Up the Saw Guide

- Make rip cuts and crosscuts up to 24 Wide
- Cut multiple pieces to the same size With just one setup
- Use the oversize edge guide for precise control throughout the cut
- Eliminate need for marking, measuring, and layout lines
Prices pulled from the Amazon Product Advertising API on:
Product prices and availability are accurate as of the date/time indicated and are subject to change. Any price and availability information displayed on [relevant Amazon Site(s), as applicable] at the time of purchase will apply to the purchase of this product.
To set the saw guide, align the saw blade with the workpiece, position the 45-degree angle guide and hold the saw guide accurately. When cutting the workpiece, ensure the saw angle is still firmly in position and doesn’t slip away. A clamp is handy in preventing the guide from slipping.
Now, you can switch on your saw and recheck for alignment and other necessary measures. It’s often common that the wood board needs a slight repositioning.
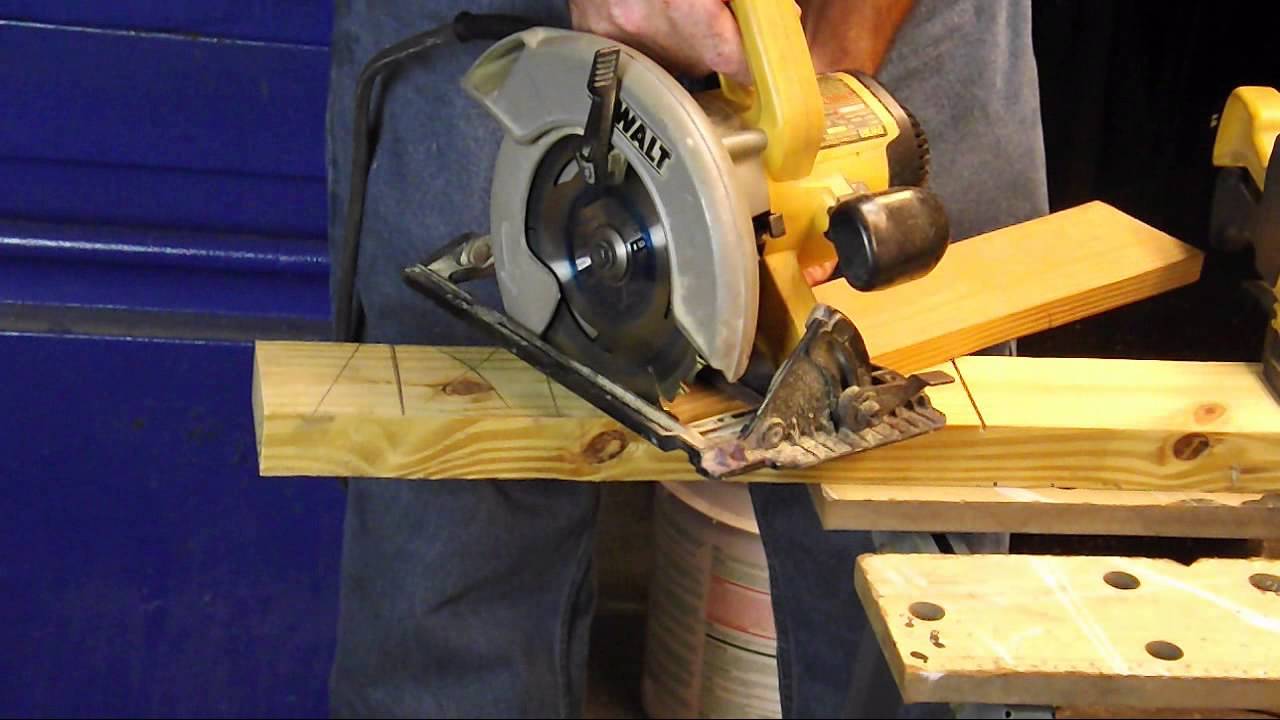
Step 3: Position the Circular Saw
You must have marked your workpiece for the exact line to cut. After this, place your circular saw that the blade is on the marked line. Also, ensure you securely hold the saw guide to the base plate and that it’s in position throughout the cut.
Step 4: Start the Cut

Now that you have set everything and ready to make that 45-degree cut, switch on your circular saw and wait for a few seconds so the saw gains its full pace.
Place the saw against the workpiece so the blade lies on the marked line. You might be tempted to push the saw against the wood to cut. Don’t do this, as doing so may destroy the job. Your saw has enough weight to pierce the blade through the wood.
Step 5: Cut Steadily
“Slow and steady” is key here. You have to cut the workpiece with little pressure, paying attention to the connection between your saw blade and the cutting board. Ensure your saw blade maintains its preset position with the cutting board.
Applying minima pressure and let your circular saw cut the wood at 45 degrees. Once you’re through cutting one end, move forward to cut the other end, provided that you need two 45-degree ends.
Why Does My Circular Saw Stop Frequently?
Saw binding is the most significant cause of a circular saw stopping frequently. Saw binding occurs when more pressure is applied than what the blade can take. Hence, it’s important to apply little force when making your cuts. Besides preventing saw binding, this practice also ensures you have an excellent result.
How to Cut 45 Degree Angles with a Circular Saw – Conclusion
One angle you’ll usually come across in your workshop is 45-degree angles. They’re excellent in joining two edges in a project. While a table saw, a jigsaw, or a miter saw can perform the task, a circular saw does the job best. Learning to cut this angle is essential as it also helps in making other miter cuts.
With this guide, you should know that cutting a 45-degree angle doesn’t require much experience but utmost attention to instructions. Also, note that all you need to do to use this method in cutting other miter cuts is to vary the angle to what suits your need.


