While you can cut angles with a regular saw, using a table saw is relatively easier. Using a regular saw requires that you handle both the blade and the workpiece at the same time, which is what using a table saw eliminates. If you’ve ever used a table saw for other tasks, you can attest to how faster it’s to use than using alternative tools. However, if this is your first time cutting an angle with a table saw, you want to know how to go about it to complete your projects. This article guides you through the process of how to cut angles on a table saw.
How to Cut Angles on a Table Saw
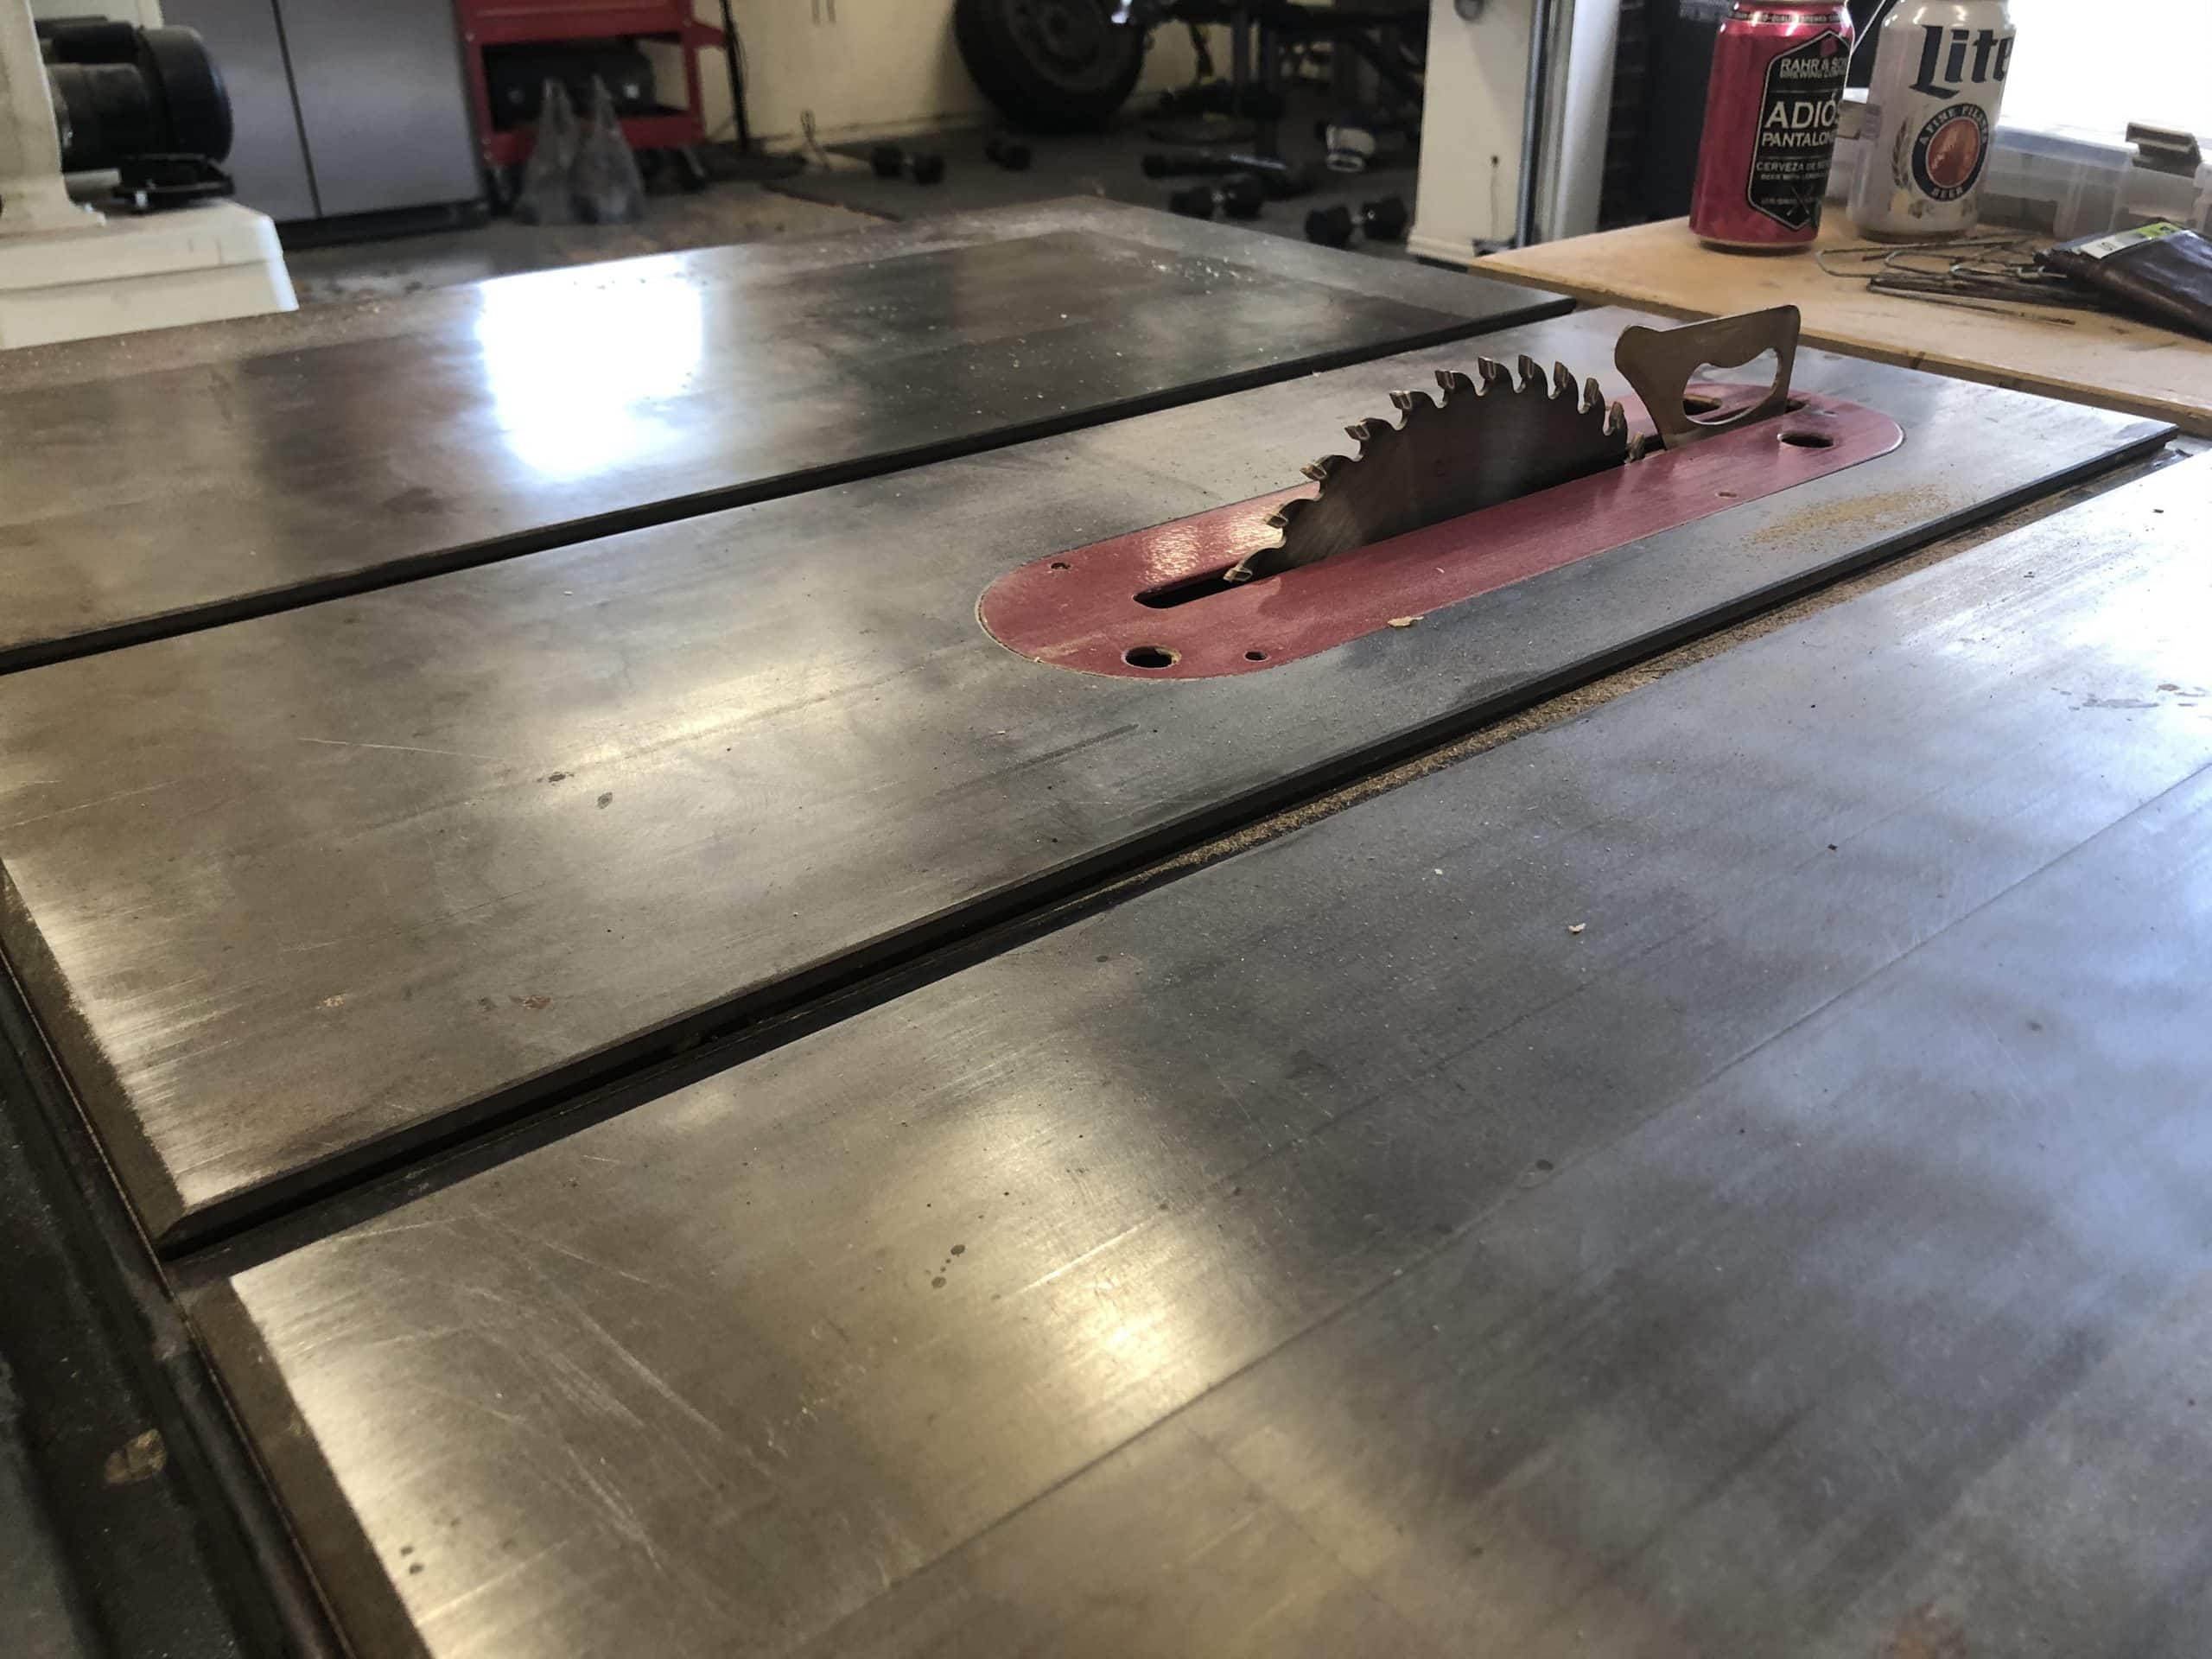
Basically, a table saw is known for cutting 90-degree angles. However, it’s also handy when making 60-degree and 45-degree cuts. All you need to do to cut your desired angle is adjust the workpiece’s position against the blade.
Making angle cuts require some extra accessories, which you’re likely to have in your workshop. These include a measuring ruler, a sharp pencil, a drafting triangle, and a high-quality framing square.
- The Speed Square, made in the USA since 1925, is essential for every carpenter, construction professional, roofer, and DIYer
- Speed Square belongs on every tradesmans tool bench; includes Try Square, Miter Square, saw guide, line scriber, and protractor
- Includes pocket-sized Swanson Blue Book, a comprehensive guide to help workers make correct angle cuts for any pitched roof
- Features: 1/4-in spaced scribing notches and the Diamond cutout for easy rafter seat cuts and scribing the most common and popular stud widths
Prices pulled from the Amazon Product Advertising API on:
Product prices and availability are accurate as of the date/time indicated and are subject to change. Any price and availability information displayed on [relevant Amazon Site(s), as applicable] at the time of purchase will apply to the purchase of this product.
- Black Framing Ruler, The Shorter Leg Measures At 8 Inch Outside And 6.5 Inch Inside – Longer Leg Measures At 12 Inch Outside And 11 Inch Inside
- This L Ruler Includes Imperial Units On One Side With 1/16-Inch Graduations And Metric Units On The Other Side With mm Graduation
- Easy To Read Markings With Bright White On Black Design
- High-Quality L-Ruler, Carbon Steel Material – Sturdy And Durable Against Rusting
Prices pulled from the Amazon Product Advertising API on:
Product prices and availability are accurate as of the date/time indicated and are subject to change. Any price and availability information displayed on [relevant Amazon Site(s), as applicable] at the time of purchase will apply to the purchase of this product.
Step 1: Set up the tools
It’s great to have your drafting triangle to make an accurate crosscut. Though the best practice is to use a drafting triangle, a framing square can also get the job done.
This also goes with setting up your miter gauge. A miter gauge is a portable device that lets you accurately set what angle you want to cut on your workpiece.
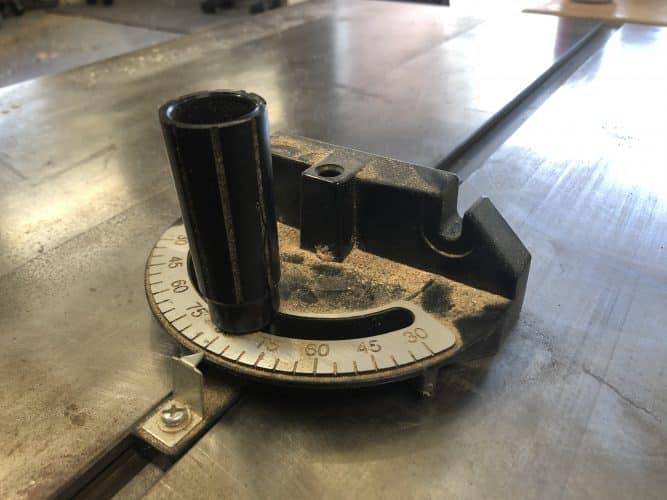
Though the saw contains indicators that gauge the exact angle to cut, an extra gauge helps have an accurate angle. This helps create a right angle between the miter gauge and the blade.
To achieve this, square up the miter gauge to the blade and position the drafting square that one 90-degree side presses against the blade and the other 90-degree side against the miter gauge.
Now, tighten up the miter gauge handle.
Step 2: Outline the Cuts
Before cutting the wood into any angle of your choice, you need to outline the line to cut. Sketch out some marks on the workpiece and join them with a line. Measure the angle it gives to ensure accuracy.
Step 3: Adjust the Saw’s Height
Now, you have to prepare your table saw for the job, and this includes adjusting the saw height. This adjustment gives your saw blade enough height to fully penetrate the workpiece and give a neat job.
Depending on the thickness of your wood, set your blade height. However, the usual practice is to set the blade height to about 0.64 cm. You can achieve this by marking out the exact height on a piece of broken wood and place the broken wood beside the blade. Adjust the blade until it matches with the labeled point on the broken piece.
If you don’t know the best saw height to use, using your discretion won’t be a deal-breaker.
Step 4: Take a Sample Cut
After putting everything in place, one thing you don’t want is to make a wrong cut on your workpiece. You can prevent making the wrong cut by cutting a broken piece of wood first. If the cut turns out to be what you want, you can proceed to cutting the wood for the project at hand.
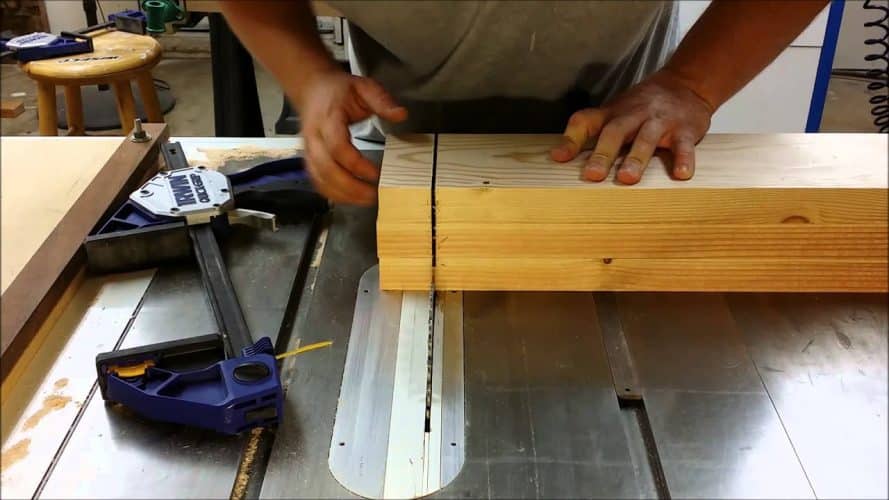
Step 5: Make the Cut
When making any cut, always go “and steady. At a low pace, drive things forward and stop when the blade cuts through the wood.
Make the cut by pushing the board against the blade.
Conclusion
Cutting angles with a table saw might seem difficult for craftsmen who haven’t laid their hands on the job before. However, the task is easy and hassle-free with the right guide. Learning this is a great step in ensuring you can finish your projects faster than using an alternative tool.
This piece has provided you with the necessary steps to cut angles with your table saw. Though you might not achieve perfection on your first practice, you’ll appreciate your new skill with time.


