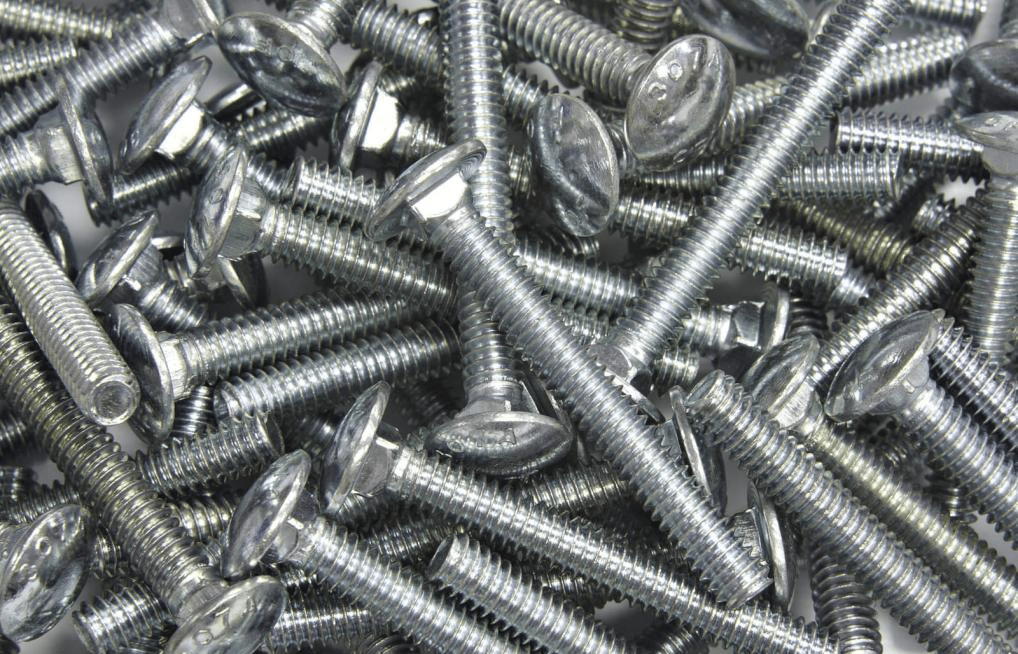
Rounding of bolt heads is not a rare occurrence. The smooth, rounded edges of the bolt refuse to be gripped by any wrench, but removing them is not impossible. Fortunately, there are a number of ways a rounded bolt can be removed without damaging the surface you’re working on.
What Leads to a Rounded Bolt?
Often, a rounded bolt can be the result of using the wrong wrench to tighten or loosen it. Adjustable wrenches contribute to the problem significantly, since even though they are designed to be used with square or hexagonal bolts, people may end up using them on rounded or other bolts.
File the Bolt
One way to remove a rounded bolt is to file the edges until you can use a wrench to turn it and pull it out.
Step 1: Flatten the Edges
For this step, you’ll need a metal file with diagonal, overlapping teeth. The edge of the file should be in contact with the rounded edge of the bolt. Using short, quick strokes, shave the bolt till the side you’re working on is flat.
Move the file in one direction. Do NOT saw the file back and forth as this will slow down the shaving process and damage the edge of the file.
Repeat this same process on another edge of the bolt (parallel to the previous straightened edge). Use your free hand to maintain a grip on the file as you work.
Note
Always make use of safety gloves and goggles when you work to avoid injuring yourself as you work.
Step 2: Loosen the Nut
Insert a wrench over the bolt so that the jaws are gripping the newly-flattened sides of the bolt. Turn the wrench in the anticlockwise direction to loosen it.
If the wrench is unable to maintain its grip over the bolt at this stage, you’ll need to redo Step 1.
You can also insert the flat side of a screwdriver between the bolt and the wrench. This will act as a lever and push the bolt outwards.
Use a Pair of Pliers
Lockjaw pliers get rid of the hassle of having to file the bolt before you try loosening it.
Step 1: Find the Right Pliers
The pliers you’re looking for need to have serrated, curved jaws. These pliers are strong enough to clamp down on an object and will not slip out of place.
Pliers come in different sizes. Choose the pliers that’ll fit the bolts you’re trying to remove. For larger bolts, you’ll need pliers with large-sized jaws.
Step 2: Clamp the Pliers onto the Bolt
Place the top jaw of the pliers against the bolt and clamp it shut. Make sure that a major area of the jaw is in contact with the clamp since this will give you a tighter grip. Squeeze the handles of the pliers to secure the jaws in place.
Step 3: Adjust the Pliers
There is a bolt at the top of the pliers. Turn this bolt anticlockwise to loosen the grip of the pliers and clockwise to tighten it. The pliers should be able to hold on to the nut/ bolt without you holding on to them.
Step 4: Twist the Pliers
Using the handles, twist the pliers in the anticlockwise direction to loosen the bolt. As long as the bolt is rust-free, the bolt will come loose.
If you see any signs of rust, use a commercial lubricant and generously spray it over the nut and bolt before trying to loosen them.
Step 5: Release the Pliers
Use the paddle at the bottom handle of the pliers to release it from the bolt. Twist the pliers by hand and remove them.
Apply Some Heat
If all else fails, bring out the heat.
Step 1: Light a Propane Torch
Keeping the nozzle of the torch away from yourself, twist the gas valve open. Hearing a hissing sound at this stage is normal. Place a striker over the nozzle and squeeze it to ignite the torch. At this point, turn down the gas valve to reduce the flame. If you don’t have a striker, a safety lighter can also get the job done.
Make sure that you wear safety goggles and gloves to avoid injuring yourself.
Step 2: Hold the Torch against the Bolt
Precaution
Before you get started, don’t use the torch if there are any plastic items or other flammable materials nearby. Ensure that there is a fire extinguisher nearby in case of emergencies.
Heat the bolt for around 30 seconds, making sure that the heat spreads evenly across the entire bolt. You may notice the bolt turning an orangey-red. The heat will cause the bolt to expand and then contract, allowing it to come loose.
Step 3: Twist the Bolt
Using a pair of pliers, clamp them onto the nut and twist anticlockwise. Since the bolt will still be burning hot at this stage, wear thick work gloves to avoid transferring heat to your hands.
Step 4: Cool Down the Bolt
Grip the bolt with the pliers and drop it in a pot full of cold water. As the bolt/nut cools, you’ll hear a hissing sound. Don’t remove the bolt from the water till it has completely cooled. This may take up to 10 minutes.
Don’t try to pull the bolt out with your bare hands. Use your work gloves to remove it from the water.
Destroy the Bolt
If none of these methods seem to be working, and the stubborn bolt just won’t budge, you’ll have to become a little more aggressive. These methods are considered to be shortcuts since they get the job done quickly, but you’ll end up completely destroying the bolt. You will also have to be very careful to avoid damaging the surface you’re working on.
Use an Oscillating Tool
An oscillating tool will completely grind off the bolt head. For the remaining stub, drill a hole through it with the help of a drill bit. Then, use an extractor and twist it counterclockwise in the hole till the stub comes out. You can grip the extractor with a wrench.
Use Bolt Splitters
Bolt splitters are a handy device that has a sharp point and completely breaks the bolt down. The broken bits can then be removed from the hole with a pair of pliers.
Which Method is the Best?
There is no “one best method” of removing a rounded off bolt. Different techniques work for different situations. Start off with the simpler methods, such as using a metal file or heating up the bolt. If all else fails, use the hardcore methods mentioned and break the bolt to remove it.
Whichever tool/method you use, make sure that you follow all the necessary safety precautions to avoid injuring yourself. Also, try not to work too fast out of frustration since this may damage the object/surface you’re working on.
